


Imagine if your cat could decide for itself when to go outside and when to return home.
However, constantly opening the door for your four-legged friend can quickly become exhausting.
By installing a cat flap yourself, you can remedy the situation and give your pet more freedom.
In this blog post we will show you how to install a cat flap step by step, what models are available and what you need to consider.
Why install a cat flap?

Installing a cat flap is primarily about giving your pet more freedom . Cats are known for their independent nature and desire to be able to come and go as they please. Without a cat flap, they could be exposed to stress outside, either from other animals or because they cannot get back in when they want to. By installing a flap, you avoid such risks and give your cat the opportunity to feel safe and explore their territory at their own discretion.
In addition to the freedom and safety aspect for your cat, installing a cat flap also brings practical advantages for you. You no longer have to keep getting up to open or close the door, which is particularly helpful at night. In addition, a well-insulated cat flap can help prevent drafts and save energy costs. By installing the flap yourself, you can also save on installation costs and ensure that it meets your requirements exactly.
Different types of cat flaps

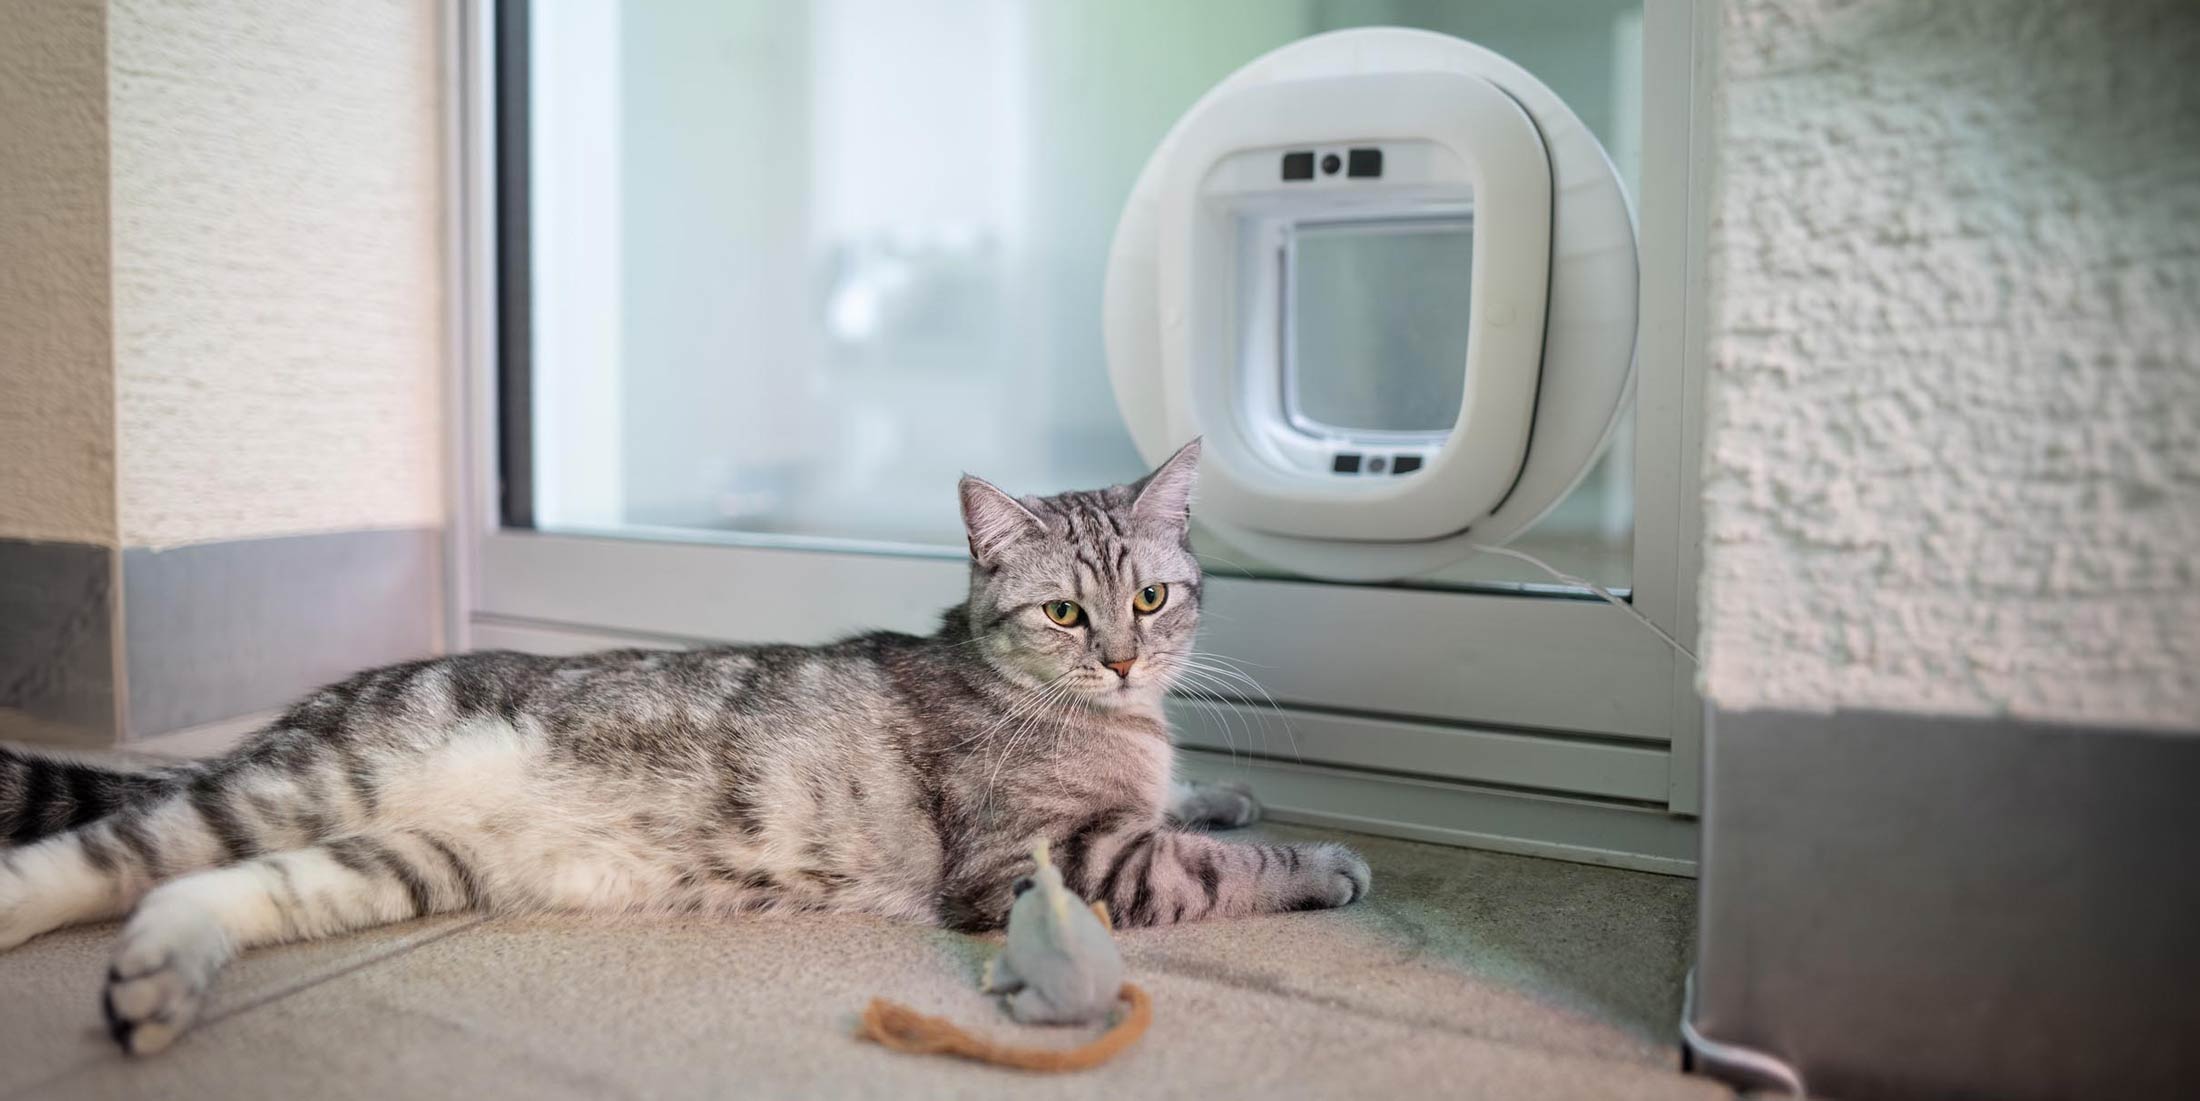
Cat flaps are available in different designs to meet the diverse needs of cats and their owners. The simplest option is the standard cat flap , which only allows entry and exit. For more control, there are models with a 4-way lock , where you can decide whether the flap should be open, closed or only passable in one direction.
Cat flaps with chip technology are particularly interesting. These recognize your cat's microchip and only allow it in and out. This provides additional security, as foreign animals are not allowed in. Here are some examples of locking systems:
- Magnetic locking systems in which the cat wears a magnetic pendant
- Electromagnetic systems that are battery-operated and can also be coded
- Infrared systems that work with a special transmitter on the cat's collar
Cat flaps with a multiple magnet system offer different locking options that you can adjust individually. The locking system with a chip is particularly user-friendly because it recognizes and stores the chip implanted in your cat. For cats without a chip, there is the option of using an RFID collar tag . This technology offers you convenience and security by ensuring that only your cat can use the flap.
Installing a cat flap: A step-by-step guide

Installing a cat flap begins with preparing the door . First, you should measure the height of your cat's belly from the floor and mark this height on the door. This serves as the center point for the later cutout. Then transfer the dimensions of the cat flap (height and width) to the door and draw the rectangle for the cutout.
Now comes the actual installation: Using a jigsaw, carefully cut the rectangle out of the door along the markings. Make sure that the saw is guided straight to ensure a clean cut. After cutting, the edges should be smoothed with fine sandpaper to remove splinters and sharp edges.
The cat flap is now inserted into the opening. Check that it swings freely and that there are no obstacles blocking the passage. Then fix the flap firmly to the door using the screws provided. Make sure that it sits flush with the door and does not leave any gaps through which draughts could enter.
Find the optimal installation location for the cat flap
The optimal installation location for the cat flap is crucial for your cat's acceptance and comfort. It should be protected from the weather and easily accessible for the cat. Avoid locations where the flap is constantly exposed to the elements such as rain or strong sunlight, as this can shorten the lifespan of the flap.
Here are some points to consider when choosing the installation location:
- The flap should be installed in an environment that is familiar to the cat to make it easier to get used to it.
- Make sure the flap is installed in an unheated room to avoid energy loss.
- The flap should not be near resting places or feeding places to avoid conflicts with other pets.
Finally, it is important that the flap is installed in such a way that it gives your cat enough space to pass through. This means that there should be no furniture or other obstacles blocking the way. Safety is also an important aspect: make sure that the flap does not lead directly onto a street or dangerous area.
Safety and legal aspects when installing a cat flap
Safety should always be the top priority when installing a cat flap. It is important that the flap is designed in such a way that it does not pose a danger to your cat or other pets . This includes ensuring that there are no sharp edges and that the material is robust enough to withstand daily use. You should also make sure that the flap closes properly to prevent your cat from getting trapped or foreign animals from getting in.
In addition to the safety aspects, legal aspects must also be taken into account. If you live in a rented apartment , you will need your landlord's permission before you start installing. In homeowners' associations, it may also be necessary to obtain the consent of the other owners , especially if the facade of the building is changed. The following points are particularly important here:
- Obtain written permission from the landlord
- When owning property, observe the rules of the owners’ association
- Check monument protection and other local regulations
Finally, you should check local regulations and building codes . In some regions, there are specific rules that may regulate the installation of cat flaps. This may include animal welfare or burglary protection requirements. It is always better to find out in advance to avoid problems or even fines later on. So, be sure to follow all relevant safety and legal regulations to ensure your cat has safe and legal access.
Installing a cat flap with a chip

Installing a microchip cat flap starts in a similar way to traditional models, but there are a few special features to be aware of. First, make sure there is no metal in the area of the mounting, as this could affect the microchip reader's function. If there is, follow the specific instructions for metal doors in the manual. It is also important not to drill or cut through the tunnel of the main mounting, as this is where the microchip reader is located.
After you have installed the flap correctly, it needs to learn your cats' microchip numbers . To do this, you put it in learning mode and let your cat walk through the flap or put its head in the tunnel. The steps are usually as follows:
- Remove the battery cover and briefly press the save button
- Wait until the cat goes through the flap or puts its head in the tunnel
- Confirm storage when the indicator light stops flashing For multiple cats, repeat this process until all chips are saved.
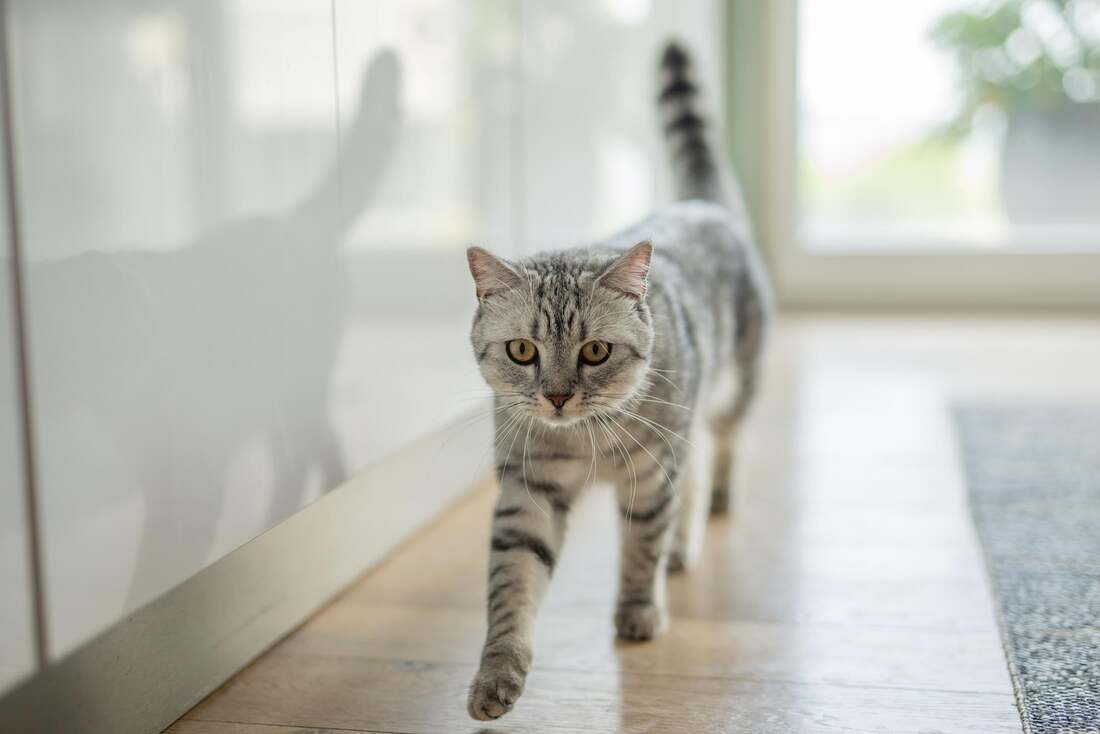
Getting cats used to the new flap

Once the new cat flap is installed, the acclimation phase begins. It is important that your cat has positive associations with the flap. Start by holding the flap open and placing treats near and through the opening. This will help your cat associate the flap with something good. Skillful timing and patience are required here, as every cat is different and needs its own time to get used to new things.
Here are a few tips to help you get used to it:
- Play with your cat near the flap so that it gets used to the environment.
- Use treats or favorite toys to lure your cat through the flap.
- Praise and caresses when she uses the flap reinforce the positive experience. With these steps, your cat will soon learn that the new cat flap is a safe and comfortable way out and back in.
How much does it cost to install a cat flap?
When installing a cat flap, costs play an important role and can vary depending on the model and installation location. A simple standard flap can be purchased for little money, while high-quality models with chip technology or special insulation cost more. In addition to the purchase costs, there are possible tradesman costs if you do not carry out the installation yourself. Here are some points that affect the costs:
- Type of cat flap : standard, 4-way lock or with chip
- Material of the door cutout : glass, wood or metal
- Additional features : weather resistance, insulation, security locks By installing the flap yourself, you can save money, but you should consider the necessary tools and your DIY skills.
Installing a cat flap as a tenant: What should you consider?
As a tenant, you have to take a few special aspects into account if you want to install a cat flap. Before installing it, it is essential to obtain your landlord's permission . This is because installing a cat flap is considered a structural change and can lead to legal problems without permission. It is best to obtain permission in writing to avoid any misunderstandings later.
You should also consider how you can restore the original state when you move out. Here are a few options:
- Store the original door or window for later reinstallation
- Make an agreement with the landlord whether the cat flap may be allowed to remain as an increase in value
- Clarify costs for possible repairs or relocation in advance This way you can ensure that you can return the apartment without any problems and that there are no nasty surprises.
Installing a cat flap: your checklist
Before you start installing a cat flap, you should make sure you have all the necessary materials and tools on hand. Here is your checklist for a smooth process:
- Cat flap : Choose the right model for your cat and your door.
- Measuring tools : A tape measure and a ruler are important to determine the size of your cat and the position of the flap.
- Jigsaw : To cut out the door, you need a saw that cuts precisely.
- Screwdriver and screws : To securely attach the flap to the door.
- Fine sandpaper : To smooth any sharp edges after cutting.
- Sealing material : For good insulation and to avoid drafts.
- Drill : If holes for the screws need to be pre-drilled.
- Spirit level : To ensure that the flap is installed straight.
- Pen : For marking the cutout size on the door. With this checklist you are well prepared to give your cat a new approach to her little adventure.
Avoid common mistakes when installing a cat flap
When installing a cat flap, common mistakes can be avoided by paying attention to a few important points. First of all, it is crucial to choose the right position , because a flap that is too high or too low can be uncomfortable for your cat. Also make sure that the flap is installed in a waterproof and windproof way to prevent drafts and moisture in the house. Here are some tips to avoid mistakes:
- Measure precisely : Before sawing, determine the exact size of the cat and the flap.
- Check your tools : Make sure your jigsaw is sharp and suitable for the type of door.
- Don't forget to seal : Use gasket material to seal the flap and ensure insulation. If you follow these tips, you will avoid the most common mistakes and ensure a safe and comfortable passage for your cat.
Smart cat flaps from Flappie: An added value for you and your cat
Flappie's intelligent cat flaps offer you and your cat numerous advantages. Thanks to artificial intelligence, they detect prey animals and prevent your cat from bringing unwanted guests home. With the Flappie app, you always stay in control and receive notifications, videos and statistics about your cat's behavior. Here are some of the highlights:
- Selective access control : Prevents cats from entering the house with prey.
- Prey detection : A camera with AI technology identifies prey.
- Flappie App : Control the cat flap remotely and receive push notifications and insights into your cat's life. So if you value a clean and prey-free environment in your home while also offering your cat freedom, a Flappie cat flap is the ideal solution. Visit the Flappie website to learn more about the innovative cat flap that will add real value to your home.
Frequently Asked Questions
How much does it cost to install a cat flap?
The cost of installing a cat flap can vary and depends on the model and installation location. A simple standard flap is available for little money, while high-quality models with chip technology or special insulation cost more. In addition to the purchase costs, there are possible tradesman costs if you do not install it yourself. By installing the flap yourself, you can save money, but you should consider the necessary tools and your manual skills.
Can you install a cat flap yourself?
Yes, you can install a cat flap yourself. The blog post provides step-by-step instructions that show you how to insert the flap into your door. It describes how to measure the height of your cat's belly, transfer the dimensions of the flap to the door, draw the rectangle for the cutout, use a jigsaw to make the cutout, and then insert and secure the flap into the opening. With the right tools and a little DIY skill, you can do the installation yourself.
Share:
Is your cat too stupid for the cat flap?
Build your own cat flap: A step-by-step guide