


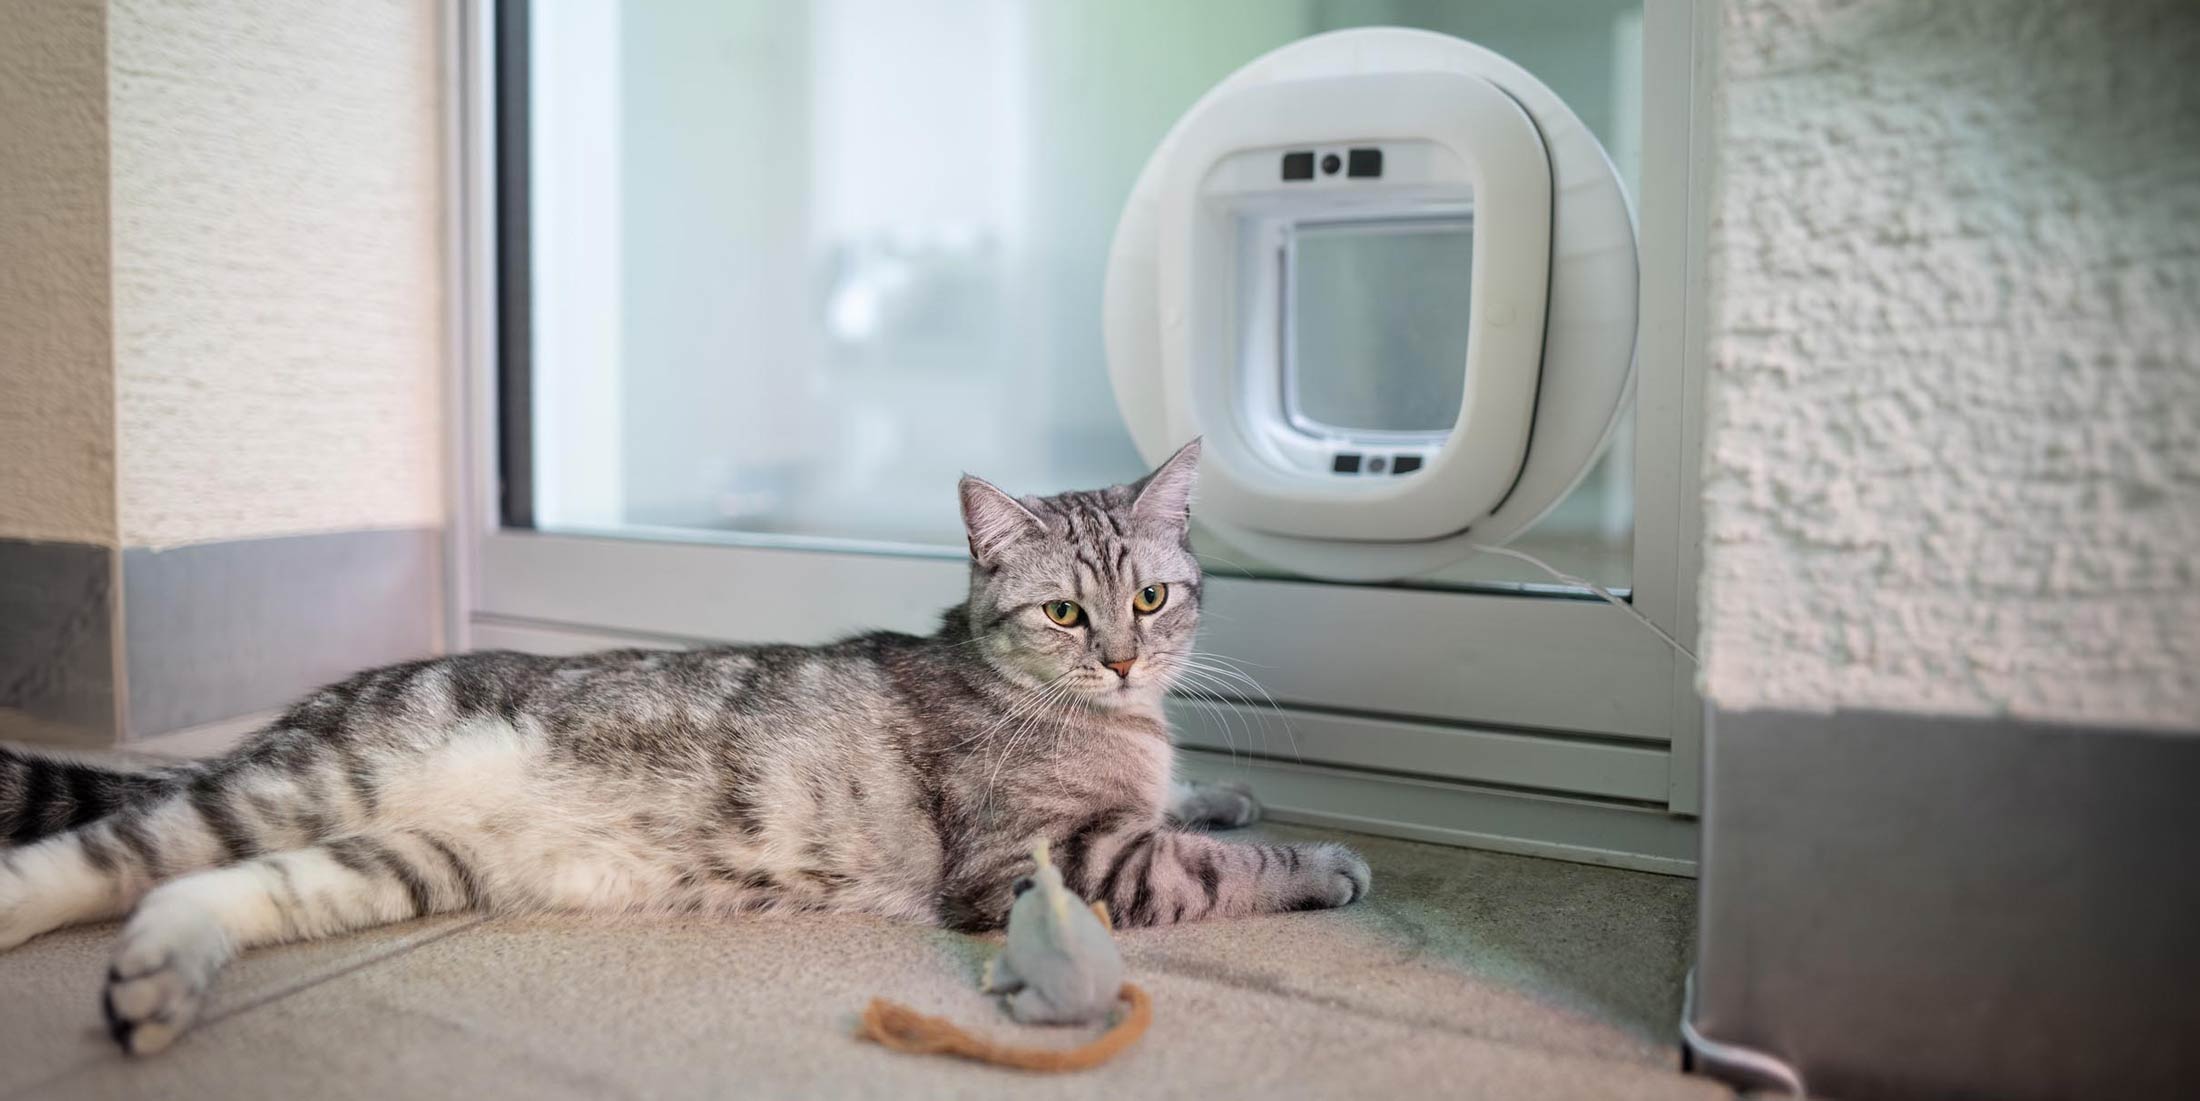
A cat flap in the door is like a personal doorman for your house cat - it offers freedom and comfort. But installing one in a wooden door often seems intimidating and raises many questions.
Don't worry, with the right instructions and a little manual skill, you can easily install the cat flap yourself.
In this article, we'll walk you through the entire process, from choosing tools to getting your cat used to their new freedom.
Why not leave the installation of a cat flap to the professionals?

You might think that installing a cat flap is better left to a professional - after all, it's about the safety of your pet and the integrity of your door. But there are good reasons why you should take on the task yourself. Firstly, it's a cost-effective solution; you save the expense of hiring a tradesman. Secondly, it gives you the opportunity to position the flap precisely according to your cat's needs and the circumstances of your home.
In addition, installing it yourself strengthens the bond between you and your pet. If you install the cat flap yourself, you can ensure that everything is exactly as it should be. The advantages are obvious:
- Self-determination : Your cat can decide for itself when it wants to go in and out.
- Convenience : You don't have to keep getting up to open the door.
- Security : You know the security needs of your home best and can act accordingly. By installing it yourself, you will ensure more independence and happiness for your cat and less stress in your everyday life.
Materials and tools required for installation

Before you start installing the cat flap, you should make sure that you have all the necessary materials and tools at hand. For installation you will need :
- a cat flap (including mounting material).
- a wooden door.
- a pencil.
- a ruler or tape measure.
- a drill with appropriate drill bits.
- a jigsaw or a keyhole saw.
- and safety glasses.
In addition to the basic tools, a few other tools are useful to make installation as easy and safe as possible. These include:
- a square or setting tool to align the corners correctly.
- Screwdriver (usually Phillips).
- Sandpaper and a metal file to smooth sharp edges.
- and a level head to install the cat flap perfectly horizontally. With these materials and tools, you are well prepared to create a new passage for your cat.
Preparations: Measuring and Marking

Before you start sawing, it is important to measure and mark exactly where you want to install the cat flap. Take a tape measure and determine the height of your cat's belly from the floor. Then transfer this height to the door and draw a horizontal line with a pencil. To make sure that this line is really straight, you should use a spirit level.
Next, you need to find the middle of the width of the door . This is important so that the cat flap sits centrally in the door later. Measure the width of the door and divide the measurement by two to find the middle point. Mark this point with an "X" on the horizontal line you drew earlier. Here are a few tips to get this right:
- Measure twice to be sure.
- This "X" marks the center where the cat flap will sit.
Now place the template for the cat flap, which should be included in the delivery, on the marked spot. The template will help you to mark the corners precisely for cutting out . Fix the template with adhesive tape so that it does not slip. Then connect the marked points with a ruler and a pencil to draw the cutting lines for later cutting out.
Installation: Step by step to the new cat flap
The first step in installing the cat flap is to saw out the previously marked area . To do this, use the drill to make a hole in each corner of the marked square, large enough to then fit the jigsaw into. Then carefully start sawing along the pencil lines to create the opening for the cat flap. It is important that you saw slowly and carefully to avoid the wood breaking.
After the opening has been sawn out, it's time to file and sand . Use sandpaper and a metal file to smooth out all sharp edges and bumps so that your cat doesn't injure itself. Pay particular attention to:
- burrs and splinters on the wood
- Sharp corners and edges
- Even edges for a clean look
Now it's time to fit the cat flap into the opening and secure it. Align it so that it is horizontal and central, then screw it in place. Make sure that the screws are tight but do not damage the material. Finally, check that the flap opens and closes easily and that there are no sharp edges that could injure your cat.
How your cat gets used to the new freedom
Once you have successfully installed the cat flap, the next step is to get your cat used to it. Start by leaving the flap open and luring your cat through the opening with treats or their favorite toy. This will help them associate the cat flap with positive experiences and become curious to explore it.
Your cat may be hesitant to use the new flap. Here are some tips to encourage her :
- Place lining on both sides of the flap to make the passage attractive.
- Use catnip or another herb your cat loves to keep her interested.
- Be patient and give your cat time to get used to the new situation.
Eventually you will need to close the flap so your cat learns to open it on its own. At first you can lift the flap slightly or only close it halfway. Make sure your cat does not get frustrated and is still willing to use the flap. With patience and practice, it will soon enjoy full control of its new freedom.
Additional tips and common mistakes to avoid
To avoid problems when installing the cat flap, you should be aware of some common mistakes and how to avoid them. Firstly , make sure that the flap is not installed too low; otherwise your cat will have to crawl, which he will not like. Secondly , avoid sawing the opening too large. This could affect the stability of the door and lead to drafts. Here are a few points to keep in mind:
- The flap should be at belly level with your cat.
- Saw the opening precisely according to the template to ensure a perfect fit.
In addition , it is important that you do not use too much force when attaching the flap to avoid damaging the material. Another tip is to test the flap before final installation to make sure it opens and closes easily. Consider these tips to avoid the following mistakes:
- Do not tighten screws too tightly to avoid cracking the material.
- Carry out a functional test of the flap before final installation.
Smart cat flaps from Flappie: More than just an opening
Flappie revolutionizes the everyday life of cat owners with an intelligent cat flap that offers more than just a simple opening. It not only prevents cats from bringing prey into the house, but also enables selective access control and offers insights into the cat's nightly activities through an integrated camera. The advantages of this innovation are manifold:
- Prey detection through AI technology that prevents the introduction of mice and birds
- Notifications and remote control via the Flappie app so you are always informed and in control
- Data protection is a top priority, as no data is passed on to external servers With Flappie, the cat flap becomes a smart part of the home, ensuring safety and cleanliness. Discover the advantages on flappie.ch and make your everyday life easier.
Frequently Asked Questions
Can you install a cat flap yourself?
Yes, you can install a cat flap yourself. The blog post provides instructions that will walk you through the entire process, from choosing the tools to getting your cat used to the new cat flap. With a little DIY skill and the right materials and tools, you can easily install the cat flap yourself.
Where can you install cat flaps?
The blog post discusses the fact that cat flaps can be installed in wooden doors. Detailed instructions are given for installing one in a wooden door, including the materials and tools needed and the steps required for preparation and the actual installation.
Share:
Cat flap in door: How to install it
The perfect front door cat flap for your furry friend