


Imagine if your cat could come and go as he pleases – without you having to rush to the door every time.
Constantly getting up to open the door for your cat can quickly become annoying.
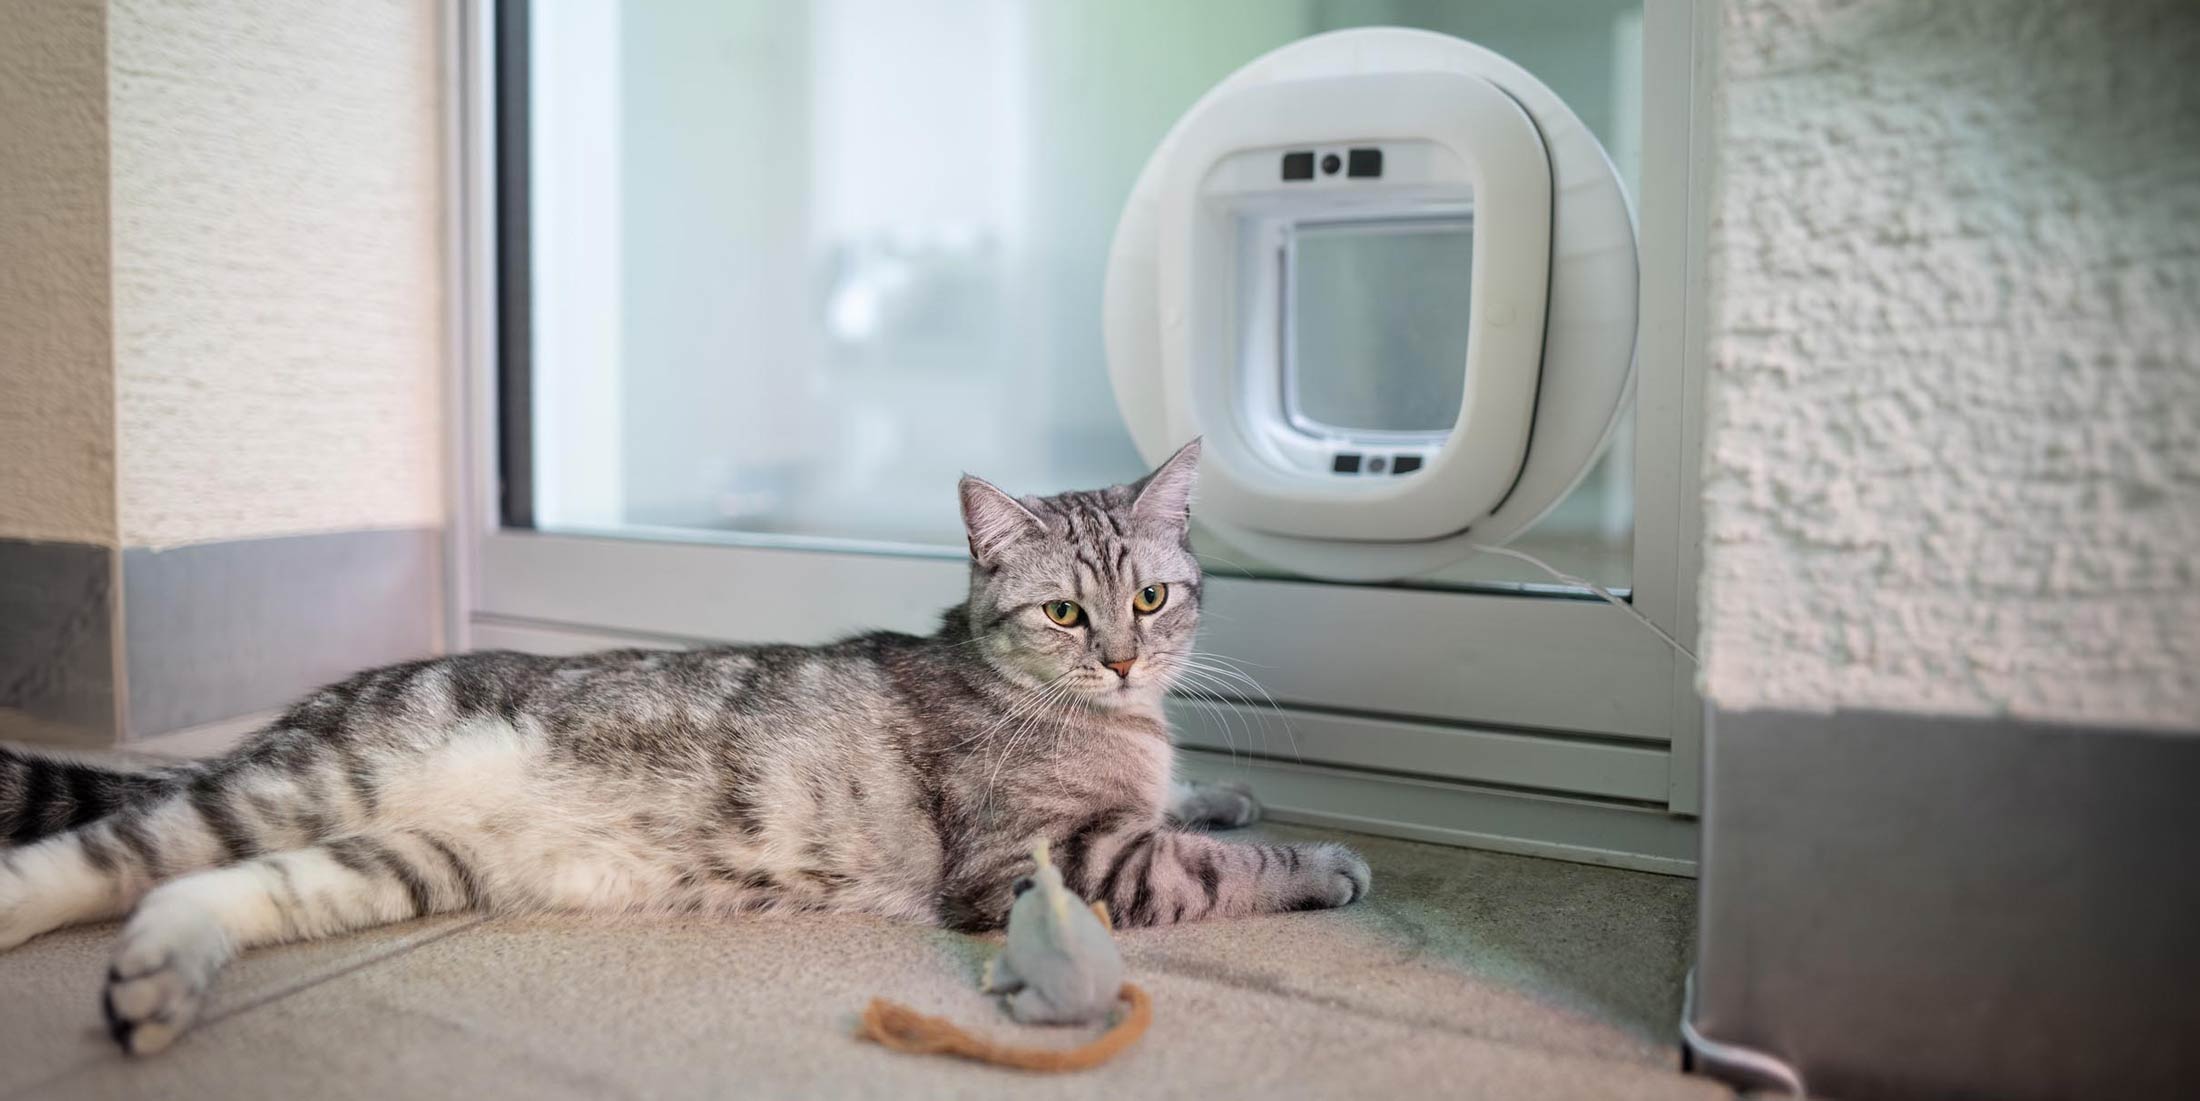
A cat flap offers the ideal solution here and installation is easier than you think, whether in rented apartments, wooden or glass doors.
In this article, you will learn step by step how to install a cat flap yourself, what tools you need and how to get your cat used to its new freedom.
Introduction: Why the correct installation of a cat flap is so important
Installing a cat flap correctly is important for several reasons. Firstly, it ensures the safety of your pet, as an incorrectly installed flap can cause injury. Secondly, installation plays a crucial role in the energy efficiency of your home: a well-sealed cat flap prevents heat from escaping and cold from entering. This can help you save on heating costs while ensuring constant comfort for you and your cat.
In addition, professional installation also contributes to the security of your home . A correctly installed and sealed cat flap minimizes the risk of break-ins and unwanted guests such as other animals. The correct placement and height of the flap ensure that your cat can easily go in and out without getting injured or stuck. In short, the correct installation of a cat flap is essential for the well-being of your cat and the integrity of your home.
Which cat flap is suitable for my cat and my door?
Choosing the right cat flap is crucial to keeping your cat comfortable and preventing unwanted visitors. Simple models are inexpensive and allow your cat to come and go as they please. However, if you want to prevent other cats from entering your home, consider a cat flap with a lock . These are available as 2-way or 4-way models , which allow you to precisely control whether your cat should only go in or out, or whether the flap should be completely locked.
When choosing, you should also consider your cat's personality and the nature of your neighborhood . Is your cat more of a laid-back senior or a lively explorer? Do you live in an urban environment with lots of other cats? Then a cat flap with magnetic, infrared or microchip detection might be the best choice, as it will only allow your cat access. Also consider the size of your cat to choose a flap with appropriate dimensions.
Required tools and materials for installation
To install a cat flap, you will need some tools and materials . Make sure you have the following items on hand:
- tape measure and pencil for accurate measurements
- spirit level and ruler for straight cuts
- Cordless drill with matching drill bits
- A jigsaw to cut out the opening
- sandpaper to smooth the edges
- Safety glasses and dust mask for your safety
- Screwdriver and screws for fastening the flap Don't forget to have the cat flap kit or a template ready to make installation easier.
Step-by-step instructions: Installing a cat flap in the front door
Installing a cat flap in the front door gives your cat freedom and independence. First, you should mark the position of the cat flap on the door. Make sure it is neither too high nor too low so that your cat can easily slip through. As a rule, a height of around 10-15 cm from the floor is ideal.
After you have marked the spot, it's time to cut it out. For this you will need a jigsaw or a similar tool. Before sawing, you should pre-drill the corners of the future opening with a drill to make it easier to insert the saw. Don't forget your safety glasses! Here are a few points to keep in mind:
- Use a template or ruler to ensure straight cuts.
- Use a spirit level to check that the opening is horizontal.
- After sawing, smooth the edges with sandpaper .
Finally, the cat flap is firmly attached to the door using the screws provided. Make sure that the flap is the right way round and is level. A seal can help prevent drafts and increase energy efficiency. After installation, you should check the function of the cat flap and make sure that it opens and closes easily.
Installing a cat flap in a room door: How to do it
Installing a cat flap in a room door is slightly different to installing one in a front door. As room doors are often thinner, it is important to maintain the stability of the door . Measure the thickness of the door and choose a cat flap that is suitable for that thickness.
Start by marking the opening and follow the same steps as when installing the front door. For an interior door, it is especially important to sand the edges carefully to avoid splinters and sharp edges. After installing the flap, test it a few times to make sure it works smoothly .
Installing a cat flap in the cellar door: What to consider
When installing a cat flap in the cellar door, you should pay attention to a few special features. Cellar doors are often exposed to greater stress, such as moisture or temperature differences. Choose a weatherproof cat flap and make sure it is well sealed to keep drafts and moisture out.
Also consider security . A cellar door can be a potential entry point for burglars. A cat flap with security features , such as a latch or reinforced frame, can provide additional protection. After installation, it is advisable to check the flap for functionality and security .
This will help your cat get used to the new cat flap
There are a few simple tricks to help your cat get used to the new cat flap quickly and without stress . First, you should give your cat time to explore the flap and get used to it. Leave the flap open at first and lure it with treats or its favorite toy to create positive associations. It is important to be patient and not to rush your cat, because every house cat has its own pace.
Once your cat shows interest, you can begin to slowly close the flap while she watches. Here are a few steps you can follow:
- At first, keep the flap only partially closed so that your cat can assess the situation.
- Gently encourage them to go through the half-closed flap by placing treats on the other side.
- Praise your cat profusely when it succeeds to boost its confidence and reinforce the behavior. With these tips, your cat will soon be able to enthusiastically enjoy its new freedom through the cat flap.
Installing a cat flap: costs and DIY options
When installing a cat flap yourself, the costs can vary greatly. It depends on whether you are just installing the flap yourself or whether additional materials and tools are required. A simple cat flap can be purchased for little money, while higher-quality models with microchip recognition cost accordingly more.
DIY options are popular because they can save you money. However, it's important to do your research and have the right tools on hand. Here are some things you might need:
- jigsaw or drill
- screwdrivers and screws
- sealing material for good insulation
If you are unsure whether you can carry out the installation yourself, it is advisable to consult a professional . This may incur additional costs, but it will also ensure the safety and quality of the installation. Remember that a faulty installation can end up being more expensive if repairs are necessary.
Cat flap in a rented apartment: Legal information and tips
You cannot simply install a cat flap in a rented apartment. It is important to obtain permission from the landlord beforehand. In some cases, the landlord may impose certain conditions or require special models that do not affect the security of the apartment, for example.
Here are some tips on how to best proceed:
- Obtain written consent from the landlord
- Have a clear understanding of the conditions and requirements
- Possibly hire a specialist company to simplify dismantling when moving out
Installation of a cat flap in glass doors and other special cases
Installing a cat flap in glass doors is more complex and should generally be carried out by a professional. Especially with double glazing or safety glass, special tools and knowledge are required in order not to endanger the integrity of the glass.
To install it in a glass door, you should follow these steps:
- Determine the type of glass (single or double glazing)
- Choosing a cat flap suitable for glass
- Consult a professional to avoid damage and additional costs
Additional tips and tricks for installing and maintaining your cat flap
When installing your cat flap, there are a few additional tips that will help you extend its lifespan. Make sure that the screws are tightened to prevent the flap from wobbling. It is also a good idea to clean and oil the flap regularly so that it can always be opened easily.
When caring for your cat flap, you should consider the following points:
- Clean regularly to remove dirt and deposits
- Oil moving parts to keep the mechanism smooth
- In case of damage or wear, replace spare parts in a timely manner to avoid major repairs
Why a smart cat flap from Flappie is the ideal choice
A Flappie smart cat flap offers unique benefits to you and your cat. Not only does it prevent your cat from bringing prey such as mice or birds into the house, but it also allows you to control your cat's comings and goings via the Flappie app . Here are some reasons why Flappie is the ideal choice:
- Selective access control - Only your cat gets access, no unwanted guests.
- Prey Detection - A camera with AI technology detects prey and prevents your cat from bringing it into the house.
- Notifications and control - You will receive push notifications via the app and can control the cat flap remotely. Do you want to take advantage of these benefits and keep your home clean and safe? Visit https://flappie.ch and learn more about the Flappie smart cat flap.
Frequently Asked Questions
How much does it cost to have a cat flap installed?
The cost of installing a cat flap can vary greatly depending on whether you install the flap yourself or hire a professional. A basic cat flap is inexpensive, while models with microchip recognition cost more. If you consult a professional, there may be additional costs for safety and quality of installation. A faulty installation can end up being more expensive if repairs are necessary.
Can you install a cat flap yourself?
Yes, you can install a cat flap yourself. The article provides step-by-step instructions and lists the tools and materials needed. DIY options are popular because they can save you money. However, it is important to do your research beforehand and have the right tools on hand. If you are unsure, it is advisable to consult a professional.
Is a cat flap a structural change?
Yes, installing a cat flap is considered a structural change. If you are renting an apartment, it is important to get permission from your landlord beforehand. The landlord may impose certain conditions or require special models that do not affect the safety of the apartment.
Share:
The perfect front door cat flap for your furry friend
Installing a cat door in a window yourself: Instructions