


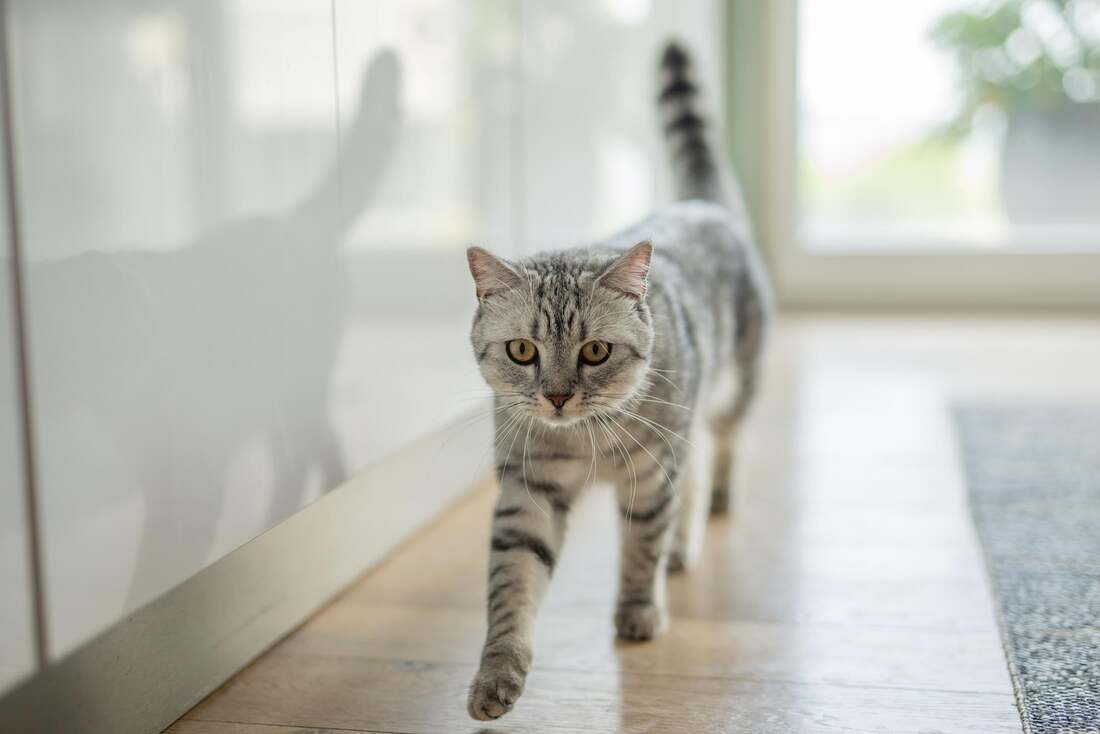
Have you ever thought about how you can comfortably let your furry friend in and out without having to constantly open the door?
Especially in cold or rainy seasons, it can be annoying to always have to rush to the door when your cat wants to go in or out.
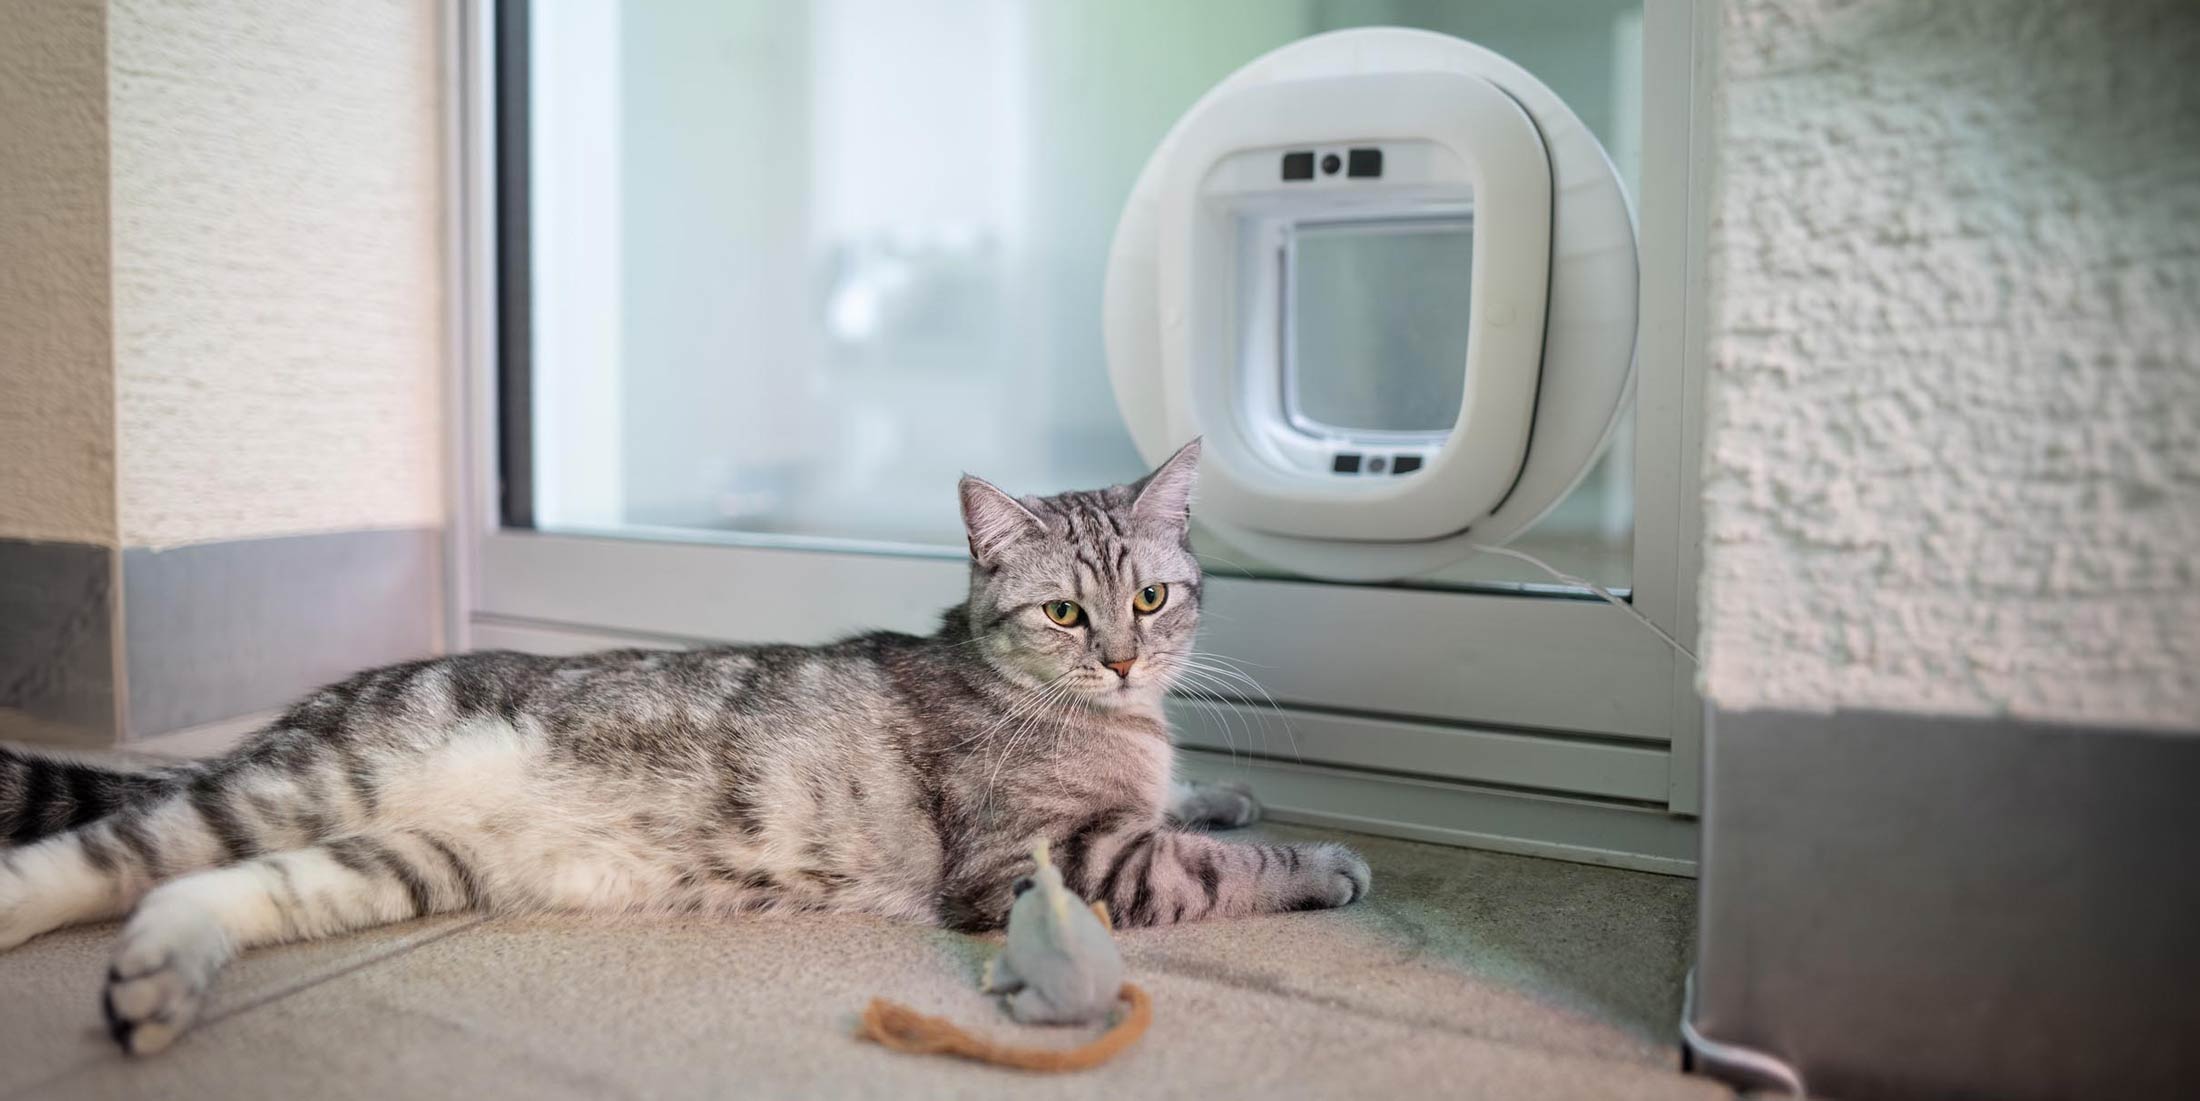
A vestibule cat flap offers the ideal solution by creating an isolated transition area equipped with two cat flaps – an external chip flap for security and an internal one that can be manually controlled.
In this article, you'll learn all about the installation and benefits of windscreen cat flaps, including tips on how to minimize draughts and an overview of costs.
Advantages of insulating glass for cat flaps

Insulated glass is often used in modern buildings to save energy. Insulated glass also offers great benefits for cat flaps. It helps to keep heat in the house, which is particularly useful if the cat flap is installed in an external wall or door. By using insulated glass instead of plain glass or other materials, heat loss can be minimised. This helps to reduce heating costs and maintain a comfortable climate in the house, even when the cat goes in and out.
In addition to energy efficiency, insulated glass offers other advantages for cat flaps. It is more robust and safer than plain glass, which increases the cat's safety. Insulated glass can also be equipped with additional functions such as sound insulation or UV protection, which improve comfort for both the cat and the owner. Insulated glass in cat flaps therefore not only ensures a better energy balance, but also more safety and comfort.
Functional glasses in cat flaps: An overview

Functional glass in cat flaps is a special type of glass that has additional properties to increase comfort and safety. This glass can come in different versions, such as heat-insulating glass, sound-insulating glass or safety glass. Each of these types of glass has specific advantages: heat-insulating glass helps to reduce energy consumption, sound-insulating glass reduces noise from outside and safety glass is more resistant to breakage. These properties make functional glass an excellent choice for cat flaps, especially when installed in exposed places such as glass doors or large windows.
Choosing the right functional lens depends on various factors. Here are some points to consider:
- Location of the cat flap : In noisy environments or in colder regions, soundproof or heat-insulating glass could be particularly useful.
- Security concerns : In ground floor apartments or easily accessible areas, safety glass can be a smart choice to prevent break-ins.
- Personal preferences : Some cat owners prefer UV protection glass to protect their cats from strong sunlight. So choosing the right functional glass can depend greatly on individual needs and the conditions of the place of residence.
How to install a cat flap in wooden doors

Installing a cat flap in a wooden door gives your cat the freedom to decide when it wants to go outside or come back in. This process may seem complicated at first, but with the right instructions and a little DIY skill, it is easily doable. First, you need to determine and mark the position of the cat flap. The ideal height depends on the size of your cat; usually 10-15 cm from the floor is sufficient.
Once you have marked the area for the cat flap, the actual installation begins. For this, you will need a jigsaw to cut out the hole in the door. It is important that you work slowly and precisely so as not to damage the wood. The following points should be observed :
- Use a template for precise cuts.
- Use a spirit level to check that the opening is horizontal.
- After sawing, carefully smooth the edges with sandpaper.
Finally, you need to insert the cat flap into the cut-out opening and fasten it securely. Make sure that the flap is level and fits tightly. After installation, it is important to check that the flap is working properly - it should open and close easily without jamming. A well-installed cat flap not only increases your cat's independence, but also the energy efficiency of your home by minimizing drafts.
Installing a cat flap in glass doors

Installing a cat flap in a glass door requires special care and the right tools to avoid damaging the glass. First, you should remove the door from the frame and place it safely on a stable surface. Then use a template to mark the area that needs to be cut out. You then cover this area with adhesive tape to stabilize the glass while cutting.
Then use a glass cutter to carefully scratch the marked area. After scratching, you can push the piece of glass out. The cat flap is then attached with a special glass adhesive. It is important to align the flap precisely and allow the adhesive to harden sufficiently before replacing the door. Finally, check the stability and functionality of the installed cat flap.
Installation of a cat flap in windows and patio doors

Installing a cat flap in a window or patio door can be done in a similar way to installing glass doors, but often requires a slightly different approach as the size and type of window can vary. First, you should remove the pane from the frame and place it on a flat surface. Then use a template to mark the position of the cat flap and tape off the area.
Using a glass cutter, carefully score the marked area before removing the piece of glass. The cat flap is attached using a special adhesive suitable for glass. Make sure the flap is correctly aligned before the adhesive hardens. After installation, you should check the functionality of the cat flap to ensure that it works smoothly and closes tightly.
Installing a cat flap in the front door
Installing a cat flap in the front door may require additional safety considerations, especially if the door faces directly onto the street. First, you should mark the spot for the cat flap on the door and make sure it is neither too high nor too low for your cat. The ideal height is often between 10 and 15 cm from the floor.
After marking the position, use a jigsaw to carefully cut out the hole. Make sure to pre-drill the corners with a drill to make it easier to insert the saw. The cat flap must then be securely fastened with screws. Finally, check that the flap moves smoothly and that it closes tightly to avoid draughts and maintain energy efficiency.
Installing a cat flap through masonry

Installing a cat flap through brickwork requires careful planning and the right tools. First, you need to determine the exact location where you want to install the cat flap. It's important that the location is both easy for your cat to reach and strategically located in terms of the interior design. Once you've chosen the location, use a tape measure and pencil to mark the exact dimensions of the cat flap onto the brickwork. It's crucial that you work very precisely here to avoid any fitting issues later. Then, drill a hole at each corner of the marked area that's large enough to insert the saw later.
Now the actual cutting of the masonry begins. Place the jigsaw in one of the pre-drilled holes and carefully follow the marked lines. It is important to saw slowly and carefully so as not to damage the masonry unnecessarily. After you have finished the cut, you should:
- Smooth the edges with sandpaper to remove sharp corners and minimize the risk of injury to the cat.
- Check the fit of the cat flap by inserting it into the opening.
- Make adjustments if necessary to ensure the flap fits and closes perfectly. Finally, install the cat flap according to the manufacturer's instructions and seal it to prevent drafts and moisture from entering. This will ensure that your cat can go in and out safely and comfortably through its new door.
Cost overview for cat flaps
The cost of purchasing and installing a cat flap can vary depending on the type of flap you choose and where it is installed. A simple manual cat flap can be available for as little as around 20 euros, while specialised models, such as electronic flaps that work with a chip on your cat, can cost up to 200 euros. Installation costs also depend on several factors:
- Type of door or wall into which the flap is installed (wood, glass, masonry)
- Whether you do the installation yourself or hire a professional
- The need for additional adjustments, such as cutting glass or breaking through masonry
If you decide to hire a professional to do the installation, the cost of labor can range from 50 to 150 euros, depending on the effort involved and the region. It is also important to consider possible additional costs that may arise, such as:
- travel costs of the craftsman
- Costs for additional materials such as sealants or special mounting frames
- Any costs for modifying doors or windows to accommodate the cat flap
Overall, you should expect a budget of at least 70 to over 350 euros, depending on the complexity of the installation and the type of cat flap. It is worth getting several quotes in advance and comparing the prices and services in order to find the best solution for you and your cat.
Noise reduction for cat flaps
Noise can be a big problem, especially if you live in a noise-sensitive area or your cat goes in and out a lot at night. To minimize the noise created by cat flaps, there are several design features that should be considered. One option is to use heavy materials for the flap itself, as these are less likely to make noise when swinging. Additionally, an automatic closing mechanism can help avoid the loud slamming of the flap. Here are some tips on how to reduce noise:
- Choose a cat flap with integrated dampening materials such as rubber or foam.
- Make sure that the flap fits tightly and does not have any large gaps through which wind could whistle.
- Consider whether a double-glazed cat flap would be useful to provide additional sound insulation.
In addition to the design of the flap itself, the installation also plays an important role in reducing noise. A professional installation ensures that no additional noise is created by poorly fitting parts. It is important that the cat flap sits firmly in the frame and does not wobble, as this can also lead to unnecessary noise. Professional help can be beneficial here to ensure that everything is installed correctly. Other noise reduction measures include:
- Use sealing strips around the flap to minimize drafts and associated noise.
- Regular maintenance and inspection of the flap to ensure that it is working smoothly and that no parts are loose.
- Installation of a device that prevents the flap from rattling in strong winds. By taking these measures, you can not only reduce the noise, but also extend the life of your cat flap and ensure a quieter household.
Discover Flappies innovative solutions for your cat flap
Flappie has developed an innovative solution that solves the everyday problem of many cat owners: unwanted prey brought home by cats. Flappie 's smart cat flap is equipped with the latest camera and AI technology that allows it to detect prey before the cat gets into the house. As soon as the camera detects a prey, the cat's access is blocked and it cannot bring the prey into the house. Here are some outstanding features of the Flappie cat flap:
- Selective access control that prevents cats from entering with prey.
- Prey detection through AI-controlled camera that can identify different types of prey.
- Notifications and remote control via the Flappie app, which allows you to control the cat flap from anywhere.
In addition to the advanced technology, the Flappie app offers additional features that enrich the experience for cat owners. Through the app, you will receive push notifications, videos and photos of your cat, helping you to stay informed even when you are not at home. The app also provides detailed statistics on your cat's behavior and allows you to customize the cat flap settings. The benefits of using Flappie include:
- Convenience through remote control , which allows you to operate the cat flap from your smartphone.
- Gain insight into your cat's life through videos and statistics that show you what your cat does when it's outside.
- Privacy and security as all data is processed locally on the device and is not sent to external servers. Visit flappie.ch to learn more about this innovative cat flap and how it can keep your home clean and prey-free.
Frequently Asked Questions
Are cat flaps windproof?
Yes, cat flaps can be made windproof. The blog post mentions that installing a windscreen cat flap and using insulated glass or special sealing materials can minimize draughts. This will help keep your house warm and draught-free while allowing your cat to go in and out freely.
Is a cat flap burglar-proof?
Yes, cat flaps can be made burglar-proof. The blog post describes that using safety glass or special installation methods such as in ground floor apartments or easily accessible areas can increase security. This can help prevent break-ins and increase safety for the cat and the home.
Share:
Mobile cat flap: installation and safety tips
Installing the perfect cat flap for your garden house