


Imagine if your cat could come and go on its own at any time without you having to "deface" your apartment. The problem: You are a tenant and are not allowed to damage doors or walls, but a cat flap would be so practical.
Don't worry, there are solutions that don't require a hammer or drill and leave your rental property intact.
In this article, you will learn how to install a cat flap safely and without causing damage, what materials you need, and how to overcome even the trickiest challenges.
Why damage-free installation of the cat flap is important

A damage-free installation of the cat flap is particularly important if you live in a rented apartment or want to keep your doors and walls in perfect condition. It's not just about getting the deposit back or avoiding repair costs. A professional installation ensures that there are no unnecessary risks for you or your cat. Improperly installed flaps can lead to injuries or compromise the insulation of the house.
Installing a cat flap can vary in complexity depending on the material and condition of the door or wall. However, there are some common challenges to overcome:
- Find the right position for the flap so that it is optimal for both the cat and the living environment.
- Treat the material of the door or wall properly without damaging it.
- Make sure the flap is tight and secure to avoid drafts and energy loss.
To overcome these challenges, it is necessary to be familiar with the safety regulations for the tools used and to wear appropriate protective clothing such as safety glasses. For certain materials, such as metal or glass, you should call in a professional due to the risk of injury and the level of expertise required. Here are some points to keep in mind:
- Take protective measures to prevent injuries from sharp edges.
- When working with glass, consult a specialist as glass has special requirements.
Ultimately, it's about making sure the cat flap is safe and functional . Proper installation will help ensure that the flap serves its purpose in the long term without causing additional problems. It's also important to consider future risks that could arise from changes to your property. Careful planning and installation will help minimize such risks and ensure that you and your cat can enjoy your new freedom without worry .
Required materials and tools

Before you start installing a cat flap, it is important that you have all the necessary materials and tools to hand. This saves time and ensures a smooth process. For a damage-free installation, you first need a cat flap set or a template to determine the size and position of the flap. A tape measure is also essential to measure the installation location precisely.
In addition to the tape measure, you will also need a pencil and a ruler or set square to make the markings precisely. A spirit level will help you to align the flap exactly horizontally, which is very important for the functionality of the flap. To actually install the cat flap, you will need a cordless drill with appropriate drill bits for the material of your door or wall.
Here are some tools you might need depending on the situation:
- jigsaw to cut out the opening for the flap
- sandpaper to smooth sharp edges
- Safety equipment such as safety glasses and dust mask to protect you while working
- Screwdriver to fix the flap
There are also some special materials you may need depending on where you are installing it. For example, installing it in a wall may require all-weather tape and all-weather sealant to make the cat flap weatherproof. Blu Tack or masking tape may be useful for temporarily marking the position of the flap without leaving a mark.
Remember that you may need additional tools depending on the material and nature of the installation surface. Always check the instructions for your cat flap kit as they may list any specific requirements and tools needed. If you are unsure, or are dealing with materials that are difficult to work with such as glass or metal, consider consulting a professional . Safety always comes first and it is better to be safe than sorry than to have to repair major damage later.
Step-by-step assembly instructions

Installing a cat flap can be easy and damage-free if you follow it step by step. First, you should carefully choose the installation location . It should be easily accessible for your cat and not cause any disruption to the living area.
Next, you need to determine the size of the opening . Hold the cat flap template in the desired location and trace the outline with a pencil. Make sure the lines are straight and clear.
Now it's time to mark the corners for the drill holes. You should:
- Use a drill with a suitable drill bit,
- Drill a hole at each corner that is larger than the saw blade ,
- For round flaps, simply drill a hole on top of the template.
Once the holes are drilled, you can use a jigsaw to cut out the opening. Move the saw carefully and follow the lines you drew earlier.
Once the opening is cut out, check that the edges are smooth. If necessary, use sandpaper to smooth out sharp edges and increase safety.
Now hold the cat flap to the cut-out opening and check whether it fits perfectly . The flap should open and close freely without rubbing against the edges.
Once the fit is right, mark the locations for the screw holes. Press the flap firmly into the opening and draw the dots on the door or wall through the existing holes on the flap.
Remove the flap again and drill holes for the screws at the marked locations. Make sure that the holes are straight and clean .
Now you can attach the cat flap. Insert it into the opening and secure it with bolts and nuts. Make sure it is tight but not too tight to avoid damaging the material.
Finally, you should check the installation for leaks and, if necessary, add some sealant. This will ensure that there are no drafts and that your cat can use the flap without any problems .
Mastering special challenges
Installing a cat flap in glass is a particular challenge for many. Glass is a sensitive material that can break easily if handled improperly. It is therefore important to be particularly careful and to use the right techniques.
To install a cat flap in glass, it is often necessary to prepare the glass beforehand . This means that the glass should already be pre-cut with a hole for the flap. This prevents the risk of the glass breaking when cutting or drilling later.
There are a few things to keep in mind when working with glass:
- The glass must be removed and replaced with a new pane with a pre-made hole.
- The shape of the hole should be round to avoid stress in the glass.
- It is advisable to hire a professional who has experience with such work.
Another challenge is burglary protection . Cat flaps can be unintentional entry points for burglars. Therefore, you should make sure that no keys or other valuable items are left near the cat flap.
To increase security, you can take the following measures:
- Install a microchip-controlled cat flap that only allows your cat access.
- Place the flap so that it cannot be used as a handle point .
- Use additional safety devices on the door to minimize the risk.
If you live in a rental property , you may also need to consider the ability to dismantle it. You should check with your landlord whether you can keep the original pane to replace when you move out.
When installing in a rented apartment, it is important that the work can be undone without leaving any residue . Make sure that the glazier removes the glass carefully and that you can store it in a safe place.
Finally, it is crucial that the cat flap is installed correctly to avoid heat loss and to keep the flap functional in the long term . A professional installation ensures that the flap is tight and secure and you don't have to worry about stability.
Answers to frequently asked questions
When it comes to installing a cat flap, many cat owners have similar questions . One of the most common questions is whether installing a cat flap will damage the door. The good news is that there are cat flaps that can be installed without causing any permanent changes or damage to the door. This means you can install the flap without worry and can also remove it again if necessary.
Another common concern is draught protection . Nobody wants cold air to come into the house through the new cat flap. Fortunately, there are models with integrated brushes or sealing systems that effectively prevent draughts. You can also add such systems later or install heavy fabrics over the flap that increase draught protection without preventing your cat from passing through.
Some people also wonder whether a cat flap can be installed in a glass door without damaging it. Special care must be taken here, as glass can break easily. However, there are special cat flaps designed to be installed in glass. For such installations, it is advisable to consult a specialist . The following points are important:
- Choosing a cat flap suitable for glass
- The prior processing of the glass by a specialist
- Avoiding self-installation to minimize breakage risks
The question of burglary security is also a common topic. Modern cat flaps offer various security features, such as microchip-controlled access systems that only allow your cat to enter. Additional security devices on the door can further reduce the risk. It is important that the flap is installed in such a way that it cannot serve as an entry point for uninvited guests.
Many tenants worry about whether a cat flap is even allowed in a rented apartment. In this case, you should always get your landlord's permission first. There are solutions that can be removed without leaving any residue , which allow the cat flap to be installed without causing any lasting damage and removed without leaving any residue when moving out.
Finally, cat owners often wonder how to care for and maintain their cat flap to ensure its longevity. Regular cleaning and checking for wear and tear are important. Seals should be replaced and moving parts oiled if necessary so that the flap always works smoothly and your cat can use it without problems.
Tips and tricks for assembly

To make installing your cat flap easier, you should take enough time beforehand and plan the installation process carefully . It is important that you understand all the steps before you start. Read your cat flap instructions carefully and make sure you have all the tools and materials you need to hand. Good preparation is half the battle and can help you avoid mistakes.
Here are some tips that can help you during assembly:
- Double check that the position where you want to attach the flap is the correct one.
- Mark the screw hole locations carefully and check that the flap is level.
- Drill the holes for the screws carefully and straight to avoid damaging the material.
Another important tip is to remain calm and patient during assembly. If you work in a rush or feel under pressure, mistakes can happen more easily. Take the time to perform each step carefully and precisely . If you are unsure, do not hesitate to ask someone for help or take a break to refocus.
Finally, don’t forget the finishing touches after assembly:
- Check all screws and make sure they are tightened firmly , but not so tight that the material suffers.
- Check that the flap is working smoothly and that it opens and closes without jamming.
- Seal the flap if necessary to prevent drafts and maintain the energy efficiency of your home.
With Flappie to the intelligent cat flap solution

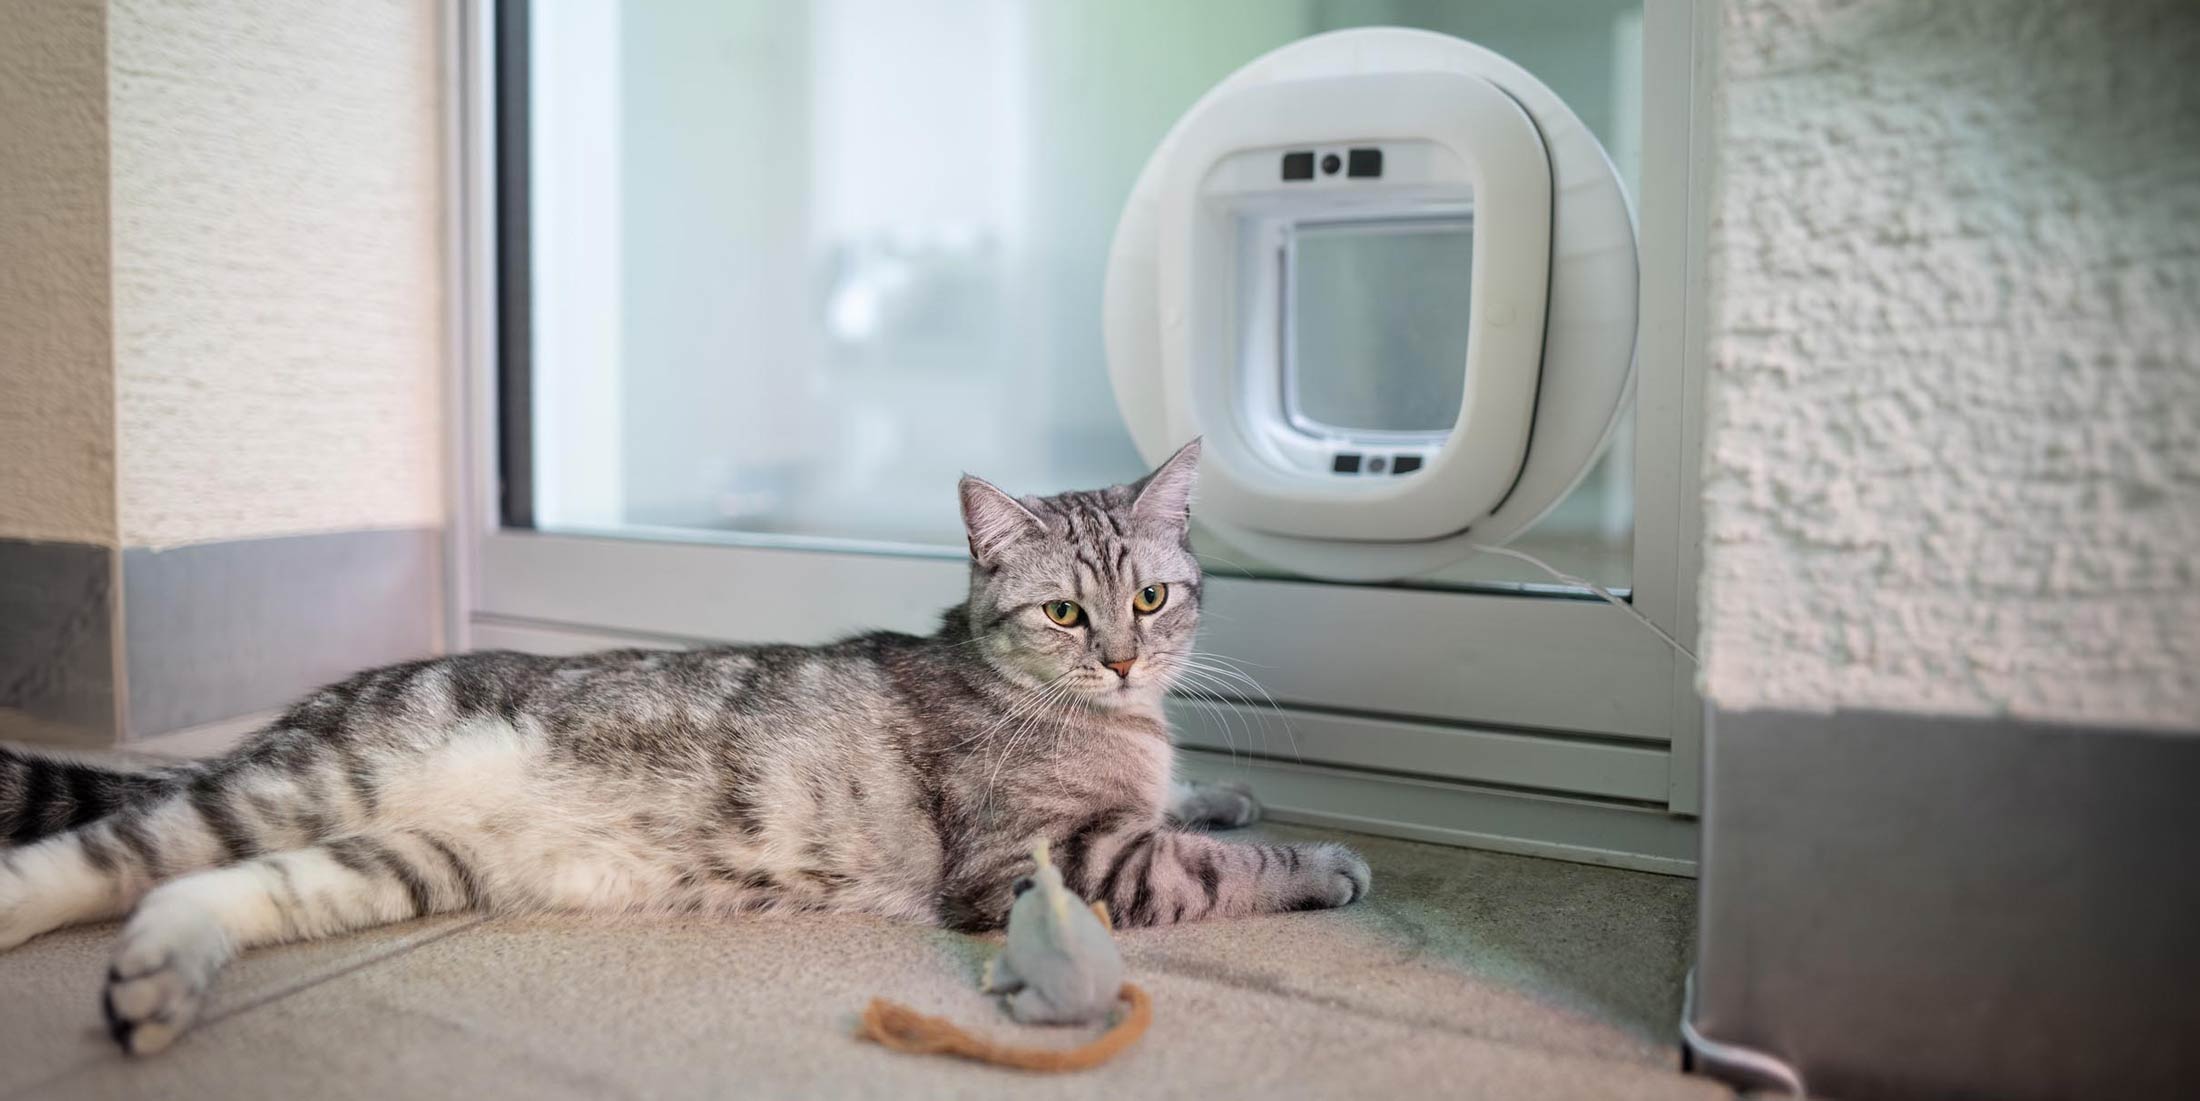
Flappie brings a revolutionary solution for cat owners: A smart cat flap that solves the problem of cats bringing prey such as mice and birds into the house. The advantages are clear: With selective access control and prey detection through camera and AI technology, Flappie creates a clean and prey-free environment in your home. The Flappie app allows you to control the cat flap remotely and provides you with push notifications, videos and statistics about your cat.
Installing Flappie is easy and safe . You don't have to worry about damaging your walls or doors. Here are some of the things that make Flappie so special:
- Selective Access Control : Prevents your cat from coming home with prey.
- Prey detection : A camera with AI identifies prey and prevents them from entering.
- Flappie App : Allows you to remotely control the cat flap and sends you current information. So if you want a smart solution for your cat, visit https://flappie.ch and learn more about Flappie's innovative cat flap that keeps your home clean and safe.
Frequently Asked Questions
Can you install a cat flap in a pane of glass?
Yes, it is possible to install a cat flap in a pane of glass, however this is particularly challenging as glass is a delicate material. It is recommended that the glass be pre-machined, which means that the glass should already be pre-cut with a hole for the flap. For such installations it is advisable to consult a professional.
Is a cat flap burglar-proof?
Modern cat flaps offer various security features, such as microchip-controlled access systems that only allow your cat to enter. Additional security devices on the door can further reduce the risk. It is important that the flap is installed in such a way that it cannot serve as an entry point for uninvited guests.
Share:
Installing a cat flap without damaging windows: A guide
Installing a cat flap with a chip: A guide for pet owners