


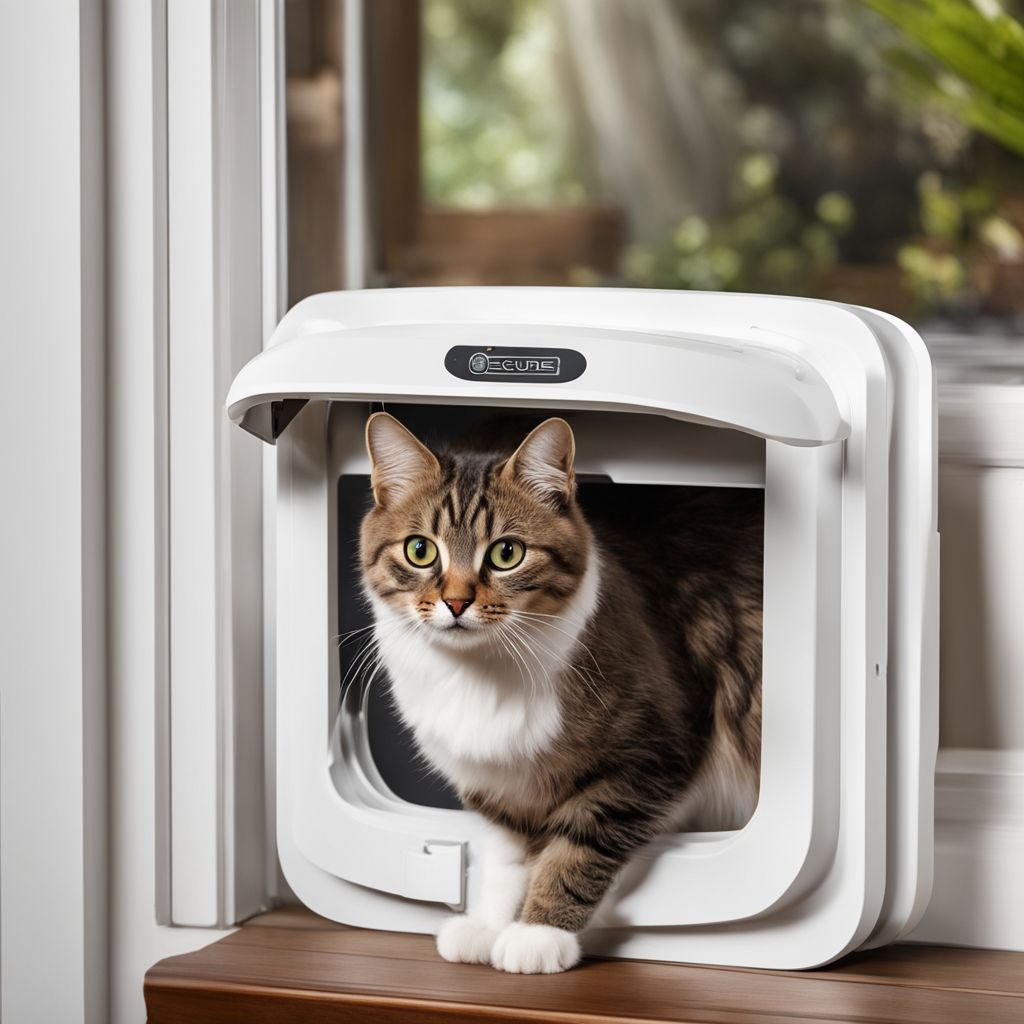
Imagine if your cat could open and close the door as if by magic - just for itself! Trouble with strange cats coming into the house or worrying about your four-legged friend's safety could soon be a thing of the past. A cat flap with a chip is the solution: it only opens for your cat and keeps uninvited guests out.
In this article we will show you how to install a cat flap with a chip yourself, what you need to pay attention to and how to get your cat used to this modern door.
Advantages of a cat flap with chip

A cat flap with a chip offers many advantages that make life easier for you and your cat. Selective access is a major advantage: only your cat, whose chip number is stored in the flap, can go in or out. This keeps strange animals out. This is not just a question of convenience, but also of safety . You no longer have to worry about other cats or small wild animals such as raccoons or foxes entering your home unnoticed.
In addition to security, such a cat flap also offers comfort for your four-legged friend. It allows your cat to create its own daily routine without you having to constantly open and close doors. Many models also allow you to program different times for automatic opening and closing or to selectively keep certain animals inside while others can come and go freely. This can be particularly useful if you have several cats and one of them - a kitten, for example - should stay inside.
Preparation and materials for installation

Before you start installing a cat flap with a chip, it is important to have all the necessary materials and tools ready. In addition to the cat flap itself, you will need screws, wall plugs and possibly additional adapter plates, depending on the installation location. Make sure you wear safety glasses when working with tools to protect your eyes. It is also advisable to read the installation instructions thoroughly beforehand so that you are familiar with the process.
Preparing the installation site is a crucial step. Check the condition of the door or wall where the cat flap is to be installed. If it is metal, be careful of sharp edges and if it is glass, consult a specialist. You should also check local building regulations and make sure the installation site is clear of power and water pipes.
Step 1: Cutting out the opening

The first step in installing a cat flap with a chip is to cut out the opening. First, mark the size of the opening precisely on the door or wall, based on the dimensions of the cat flap. Then start sawing carefully with a jigsaw or other suitable tool. Make sure that the edges are as straight as possible.
After the opening has been sawn out, remove all chips and smooth the edges . This is important to avoid injury to the cat and to ensure a clean installation. Check that the cat flap fits perfectly in the cutout before continuing with the installation.
Step 2: Installing the cat flap

Once the opening is prepared, you can start installing the cat flap. Insert the cat flap into the opening and align it. Make sure that the flap is flush with the door or wall both inside and outside.
Attach the cat flap using the screws provided. Choose the screw length according to the thickness of the door or wall. Once the flap is securely mounted, you can put the cover caps on to hide the screws. Then check that the flap opens and closes easily.
Step 3: Program the chip and make settings

After installing the cat flap, the chip needs to be programmed. Press the programming button and bring your cat close to the flap so that its chip is recognised and stored. Most cat flaps confirm successful programming with a signal or display.
In addition to programming the chip, you can set custom settings . These include access modes such as "entry only" or "exit only" and, on some models, even time controls. Read your cat flap manual to understand all the available features and set them correctly.
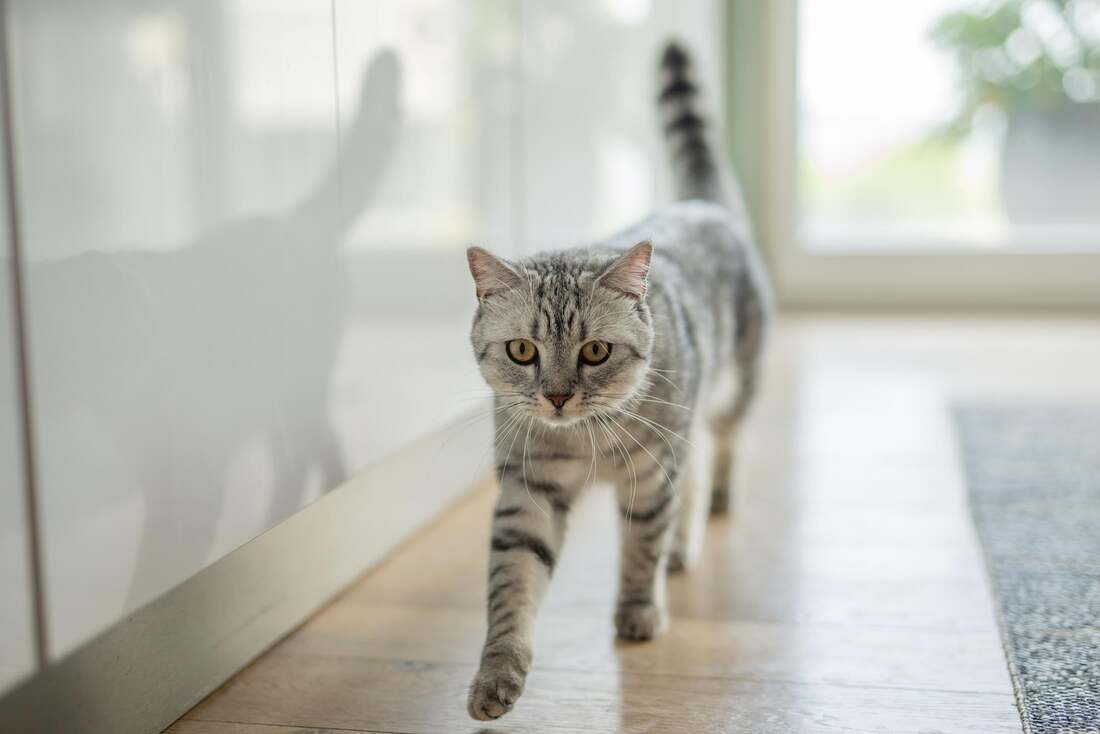
Getting your cat used to the new cat flap

A new cat flap can be strange and unfamiliar to your cat at first. To get your cat used to it, you should be patient and take a step-by-step approach. Start by feeding your cat near the flap so that it develops a positive association with it. You can also play with your cat near the flap to create associations of joy and security .
Once your cat feels comfortable near the flap, you can encourage him to go through the open flap by placing treats on the other side. Here are a few helpful tips:
- Use treats : Place them strategically to lure your cat through the flap.
- Be patient : Not every cat accepts new things immediately, so give her time.
- Praise : When your cat uses the flap, don't forget to praise and reward him.
Costs and craftsmen for installation
The cost of installing a cat flap can vary and depends on several factors, such as the installation location and the type of flap. It is advisable to obtain at least two quotes from tradesmen before making a decision. Make sure that you do not pay the entire amount up front and always receive a written cost breakdown and a receipt for your payments.
If you want to install a specialised cat flap, such as one built into an external wall or glass door, it may be worth hiring a professional . A specialist will have the right knowledge and experience to carry out the job to a high standard. Check that the tradesman has public liability insurance and is a member of a professional association for additional peace of mind.
Legal aspects when installing a cat flap
When installing a cat flap in a rented apartment or house, you must remember that this is considered a structural change. It is important to obtain permission from the landlord beforehand . It is best to put this permission in writing to avoid any misunderstandings later. Without the landlord's consent, you could be required to restore the original condition when you move out, which can incur additional costs.
However, there are ways to make the installation reversible, for example by using a replaceable door or window panel . Here are some points to consider:
- Alternative options such as replacing the door or installing a panel solution with the cat flap.
- Consult with the landlord to find a solution that is acceptable to both parties.
- Written agreement on the conditions of installation and any dismantling obligations.
Choosing the best installation location for the cat flap

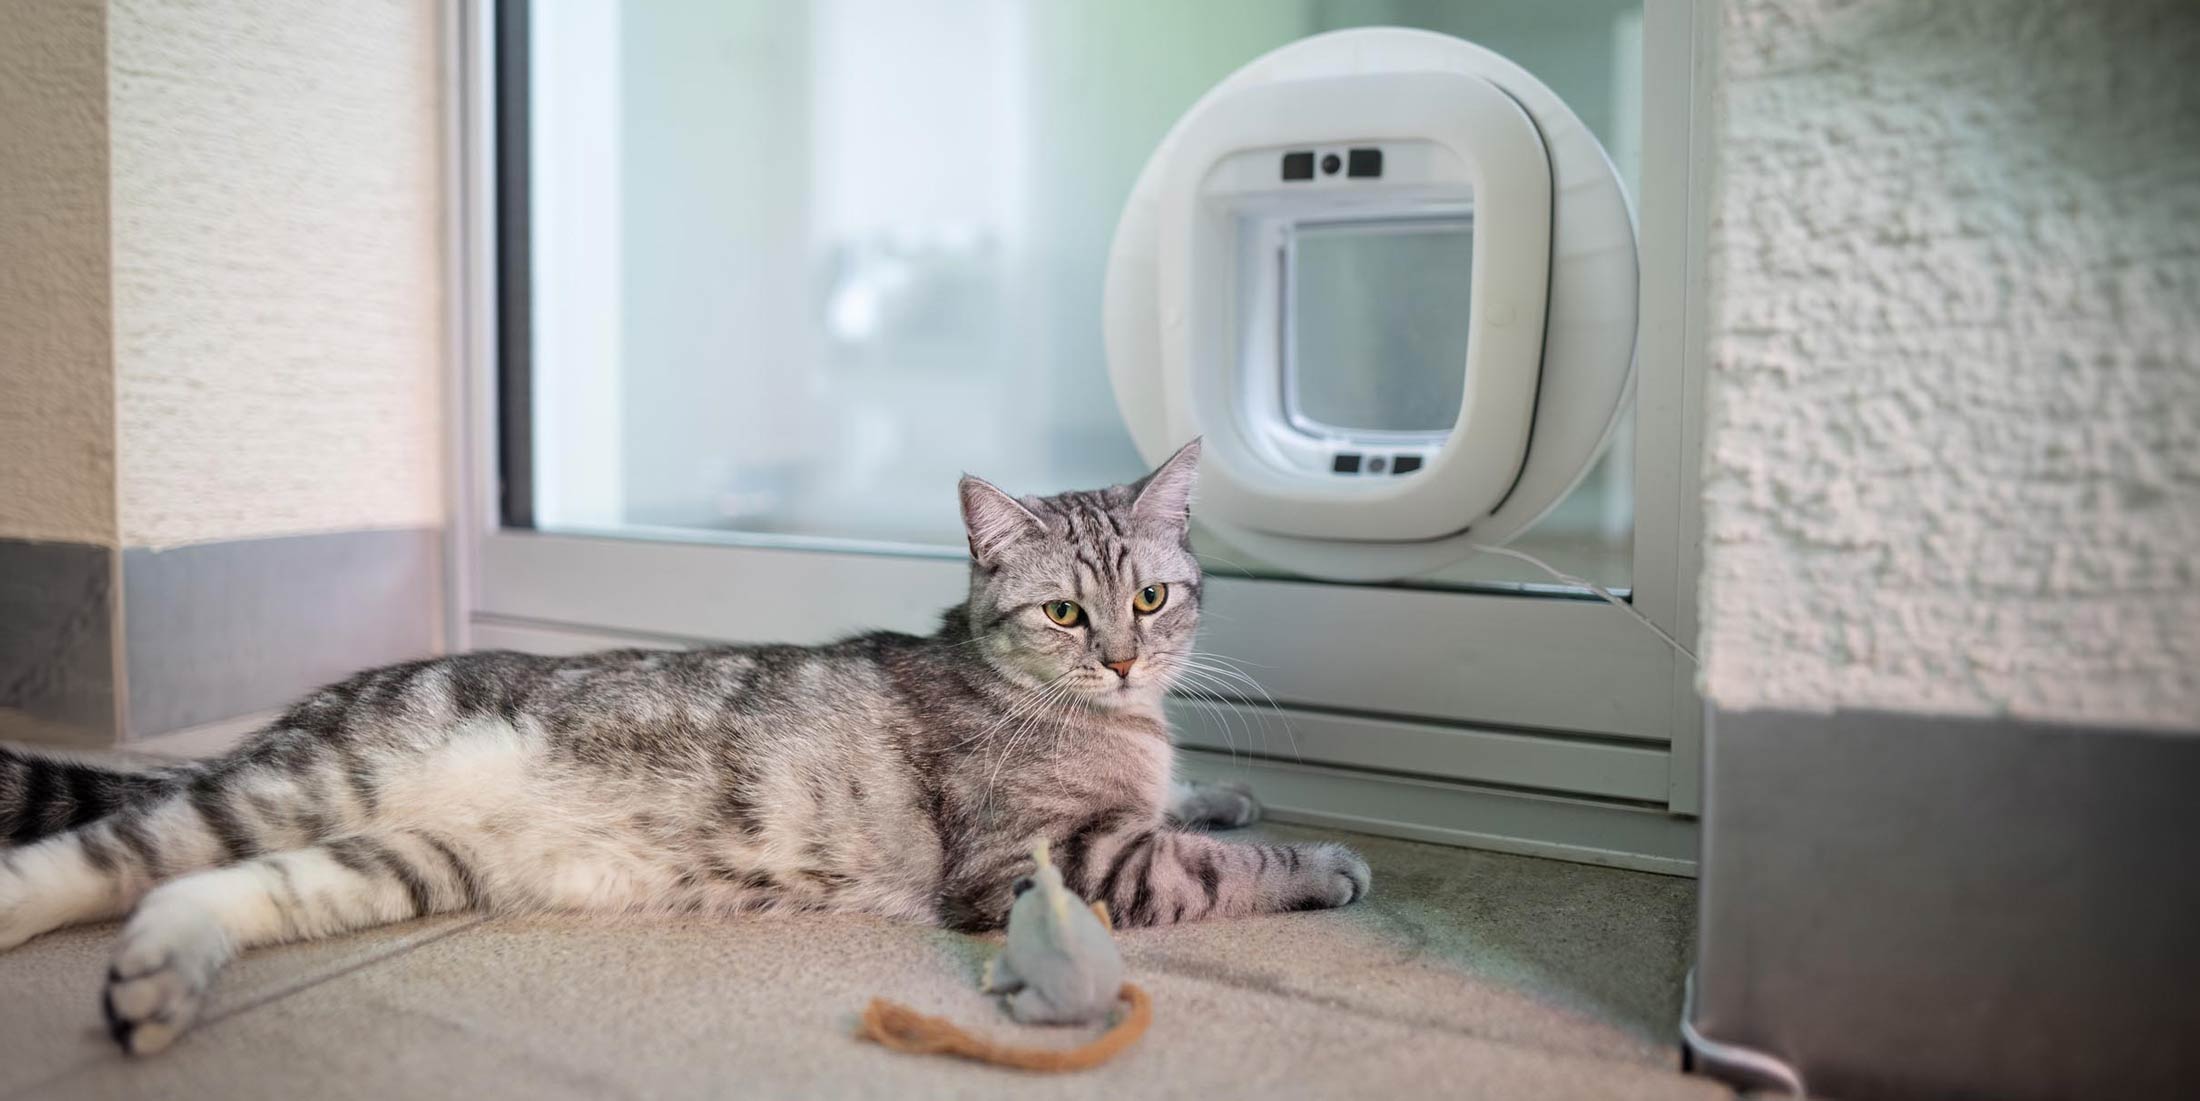
When choosing the best place to install the cat flap, there are a few things you should consider. The location must be protected from the weather so that your cat stays dry and the flap is not damaged by moisture. The installation location should also be easily accessible for your cat and in a place that is familiar to it so that it can use the flap without much getting used to it.
Also think about the energy efficiency of your home : it is best to install the cat flap in an unheated room to avoid unnecessary heat loss. In general, most cat flaps can be installed in windows, doors or walls . Here are some points to consider:
- protection from the weather
- Easy accessibility for the cat
- Installation in unheated areas to save energy
Safety for pets and home

The safety of your pet and your home is crucial when installing a microchipped cat flap. Choose the right size flap so that only your cat can get through and no larger animals or burglars. It is also important to use high-quality locks or latches to be able to securely close the flap when necessary. Here are some points to consider:
- Adjusting the size of the cat flap to your cat
- use of stable locking systems
In addition to protecting against unwanted guests, you should ensure that the cat flap does not pose a danger to your cat . Make sure that the flap has no sharp edges and can be opened easily. Regular maintenance and cleaning are also important to ensure functionality and safety. Maintenance work includes:
- Control for sharp edges and ease of use
- Cleaning the sensor and flap mechanism
Additional functions of the cat flap with chip

Modern cat flaps with a chip not only offer the advantage of selective access, but also numerous additional functions . These improve the comfort and safety for your cat and your home. Some models have a timer that allows you to set the times at which your cat can use the flap. For example, you can prevent your cat from going outside at night. Other functions can include:
- Individual access rights for multiple animals
- 4-way lock for more control over your cat's freedom of movement
- LCD display that shows information about usage These extensions make it easier to control and monitor your cat's behavior while giving your pet the freedom to create his or her own daily routine.
Care and maintenance of the cat flap
Regular care and maintenance of your cat flap is important to prolong its life and ensure it works properly. Here are some tips to follow:
- Clean the flap regularly with a damp cloth to remove dirt and dust.
- Check the mobility of the flap and oil the hinges if necessary.
- Check the batteries or the power connection if your flap is electronic and replace them if necessary. By following these simple steps, you can ensure that your cat flap is always in top condition and your cat can go in and out without any problems.
Use Flappies intelligent cat flap solutions
Flappie's smart cat flaps offer you and your cat unique benefits. Thanks to prey detection by camera and AI technology, your home remains prey-free, and with the Flappie app you have full control: you receive push notifications, can adjust settings and even watch videos of your cat. Here are some highlights that distinguish Flappie from conventional cat flaps:
- Selective access control prevents cats from bringing prey into the house.
- Prey detection through AI-supported camera.
- Remote control and notifications via the Flappie app. If you want to take your cat flap to the next level, visit https://flappie.ch and discover how you can protect your home and your furry friend even better.
Frequently Asked Questions
How much does a chip-controlled cat flap cost?
The cost of installing a cat flap can vary and depends on several factors, such as where it is being installed and the type of flap. It is advisable to obtain at least two quotes from tradesmen before making a decision. The cost of the cat flap itself is not specified, but it is recommended to obtain comparative quotes and insist on a written cost breakdown.
Which craftsman installs a cat flap?
It may be a good idea to hire a professional to install a specialised cat flap. It is recommended that you ensure that the tradesman has public liability insurance and is a member of a professional association to ensure additional security.
Is a cat flap a structural change?
Yes, installing a cat flap in a rented apartment or house is considered a structural change. It is important to obtain the landlord's permission beforehand, preferably in writing, to avoid any misunderstandings later. Without the landlord's consent, you could be required to restore the property to its original condition when you move out.
Where is the best place to install a cat flap?
The best place to install a cat flap should be somewhere protected from the weather so that your cat stays dry and the flap is not damaged by moisture. The location should be easily accessible for your cat and in a place that is familiar to it. It is also advisable to install the cat flap in an unheated room to avoid unnecessary heat loss. The flap can generally be installed in windows, doors or walls.
Share:
Attach the cat flap securely without damaging the wall or door
Strange cat through cat flap: What to do?