


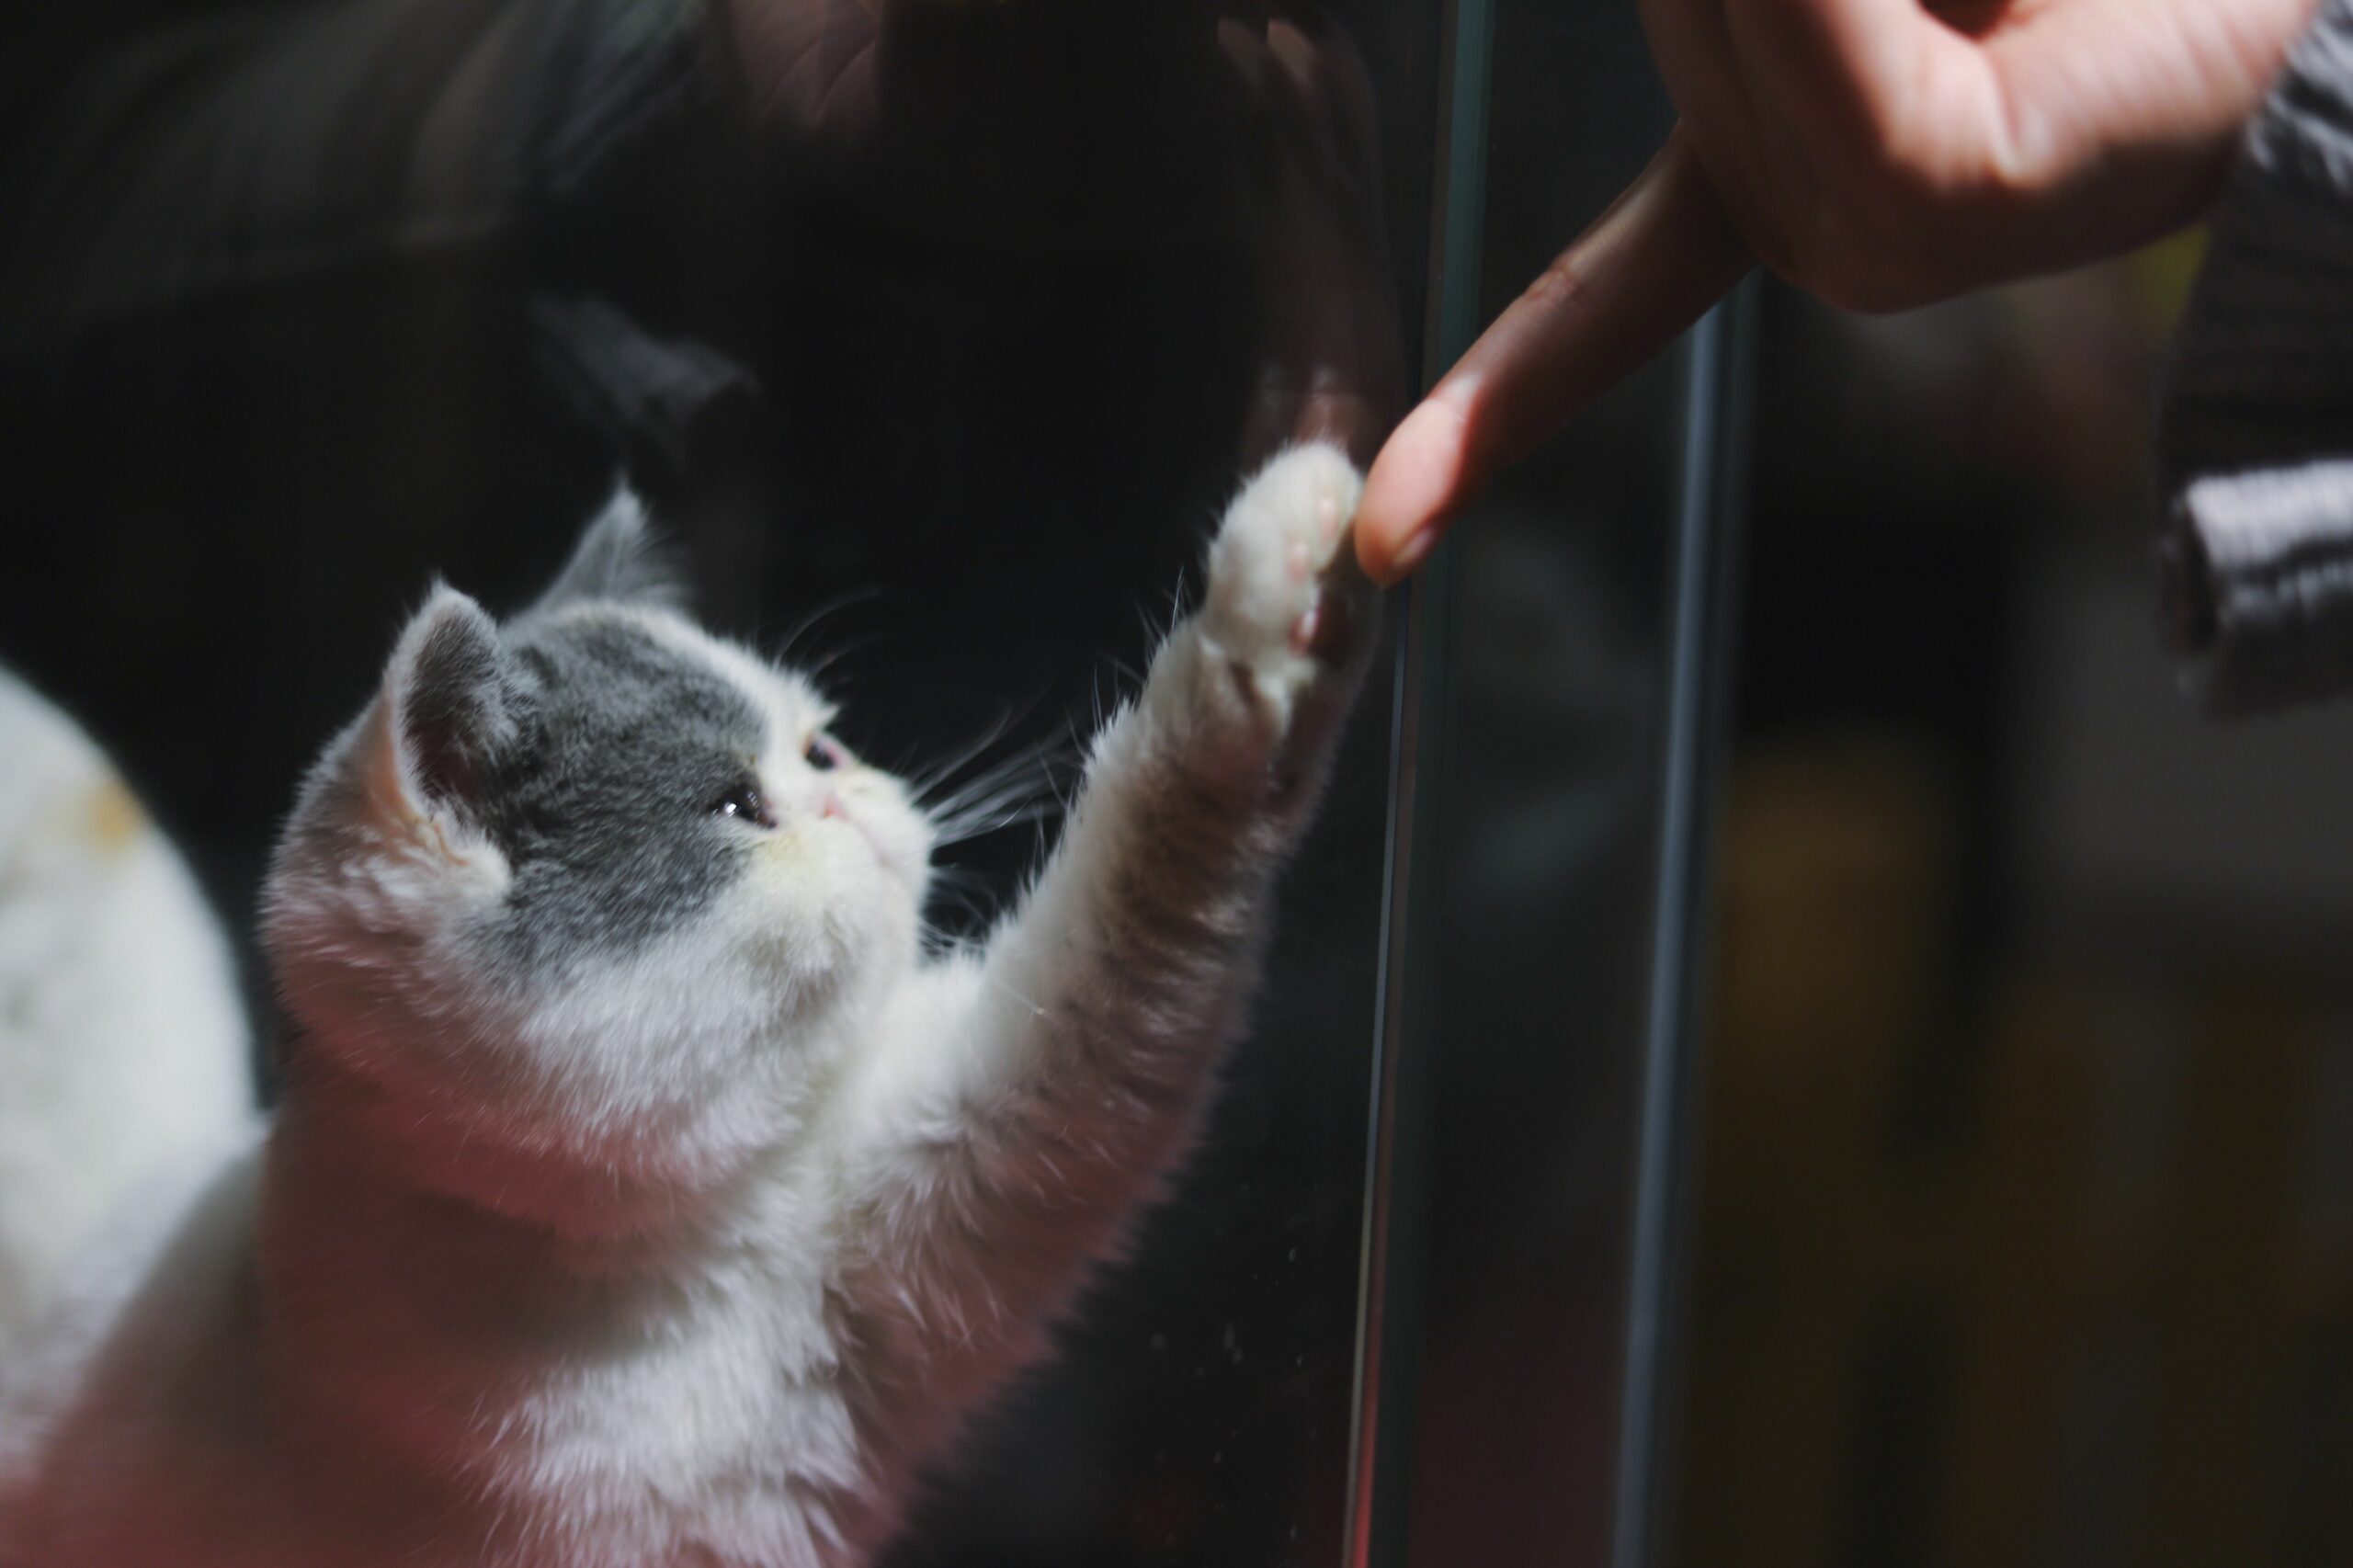
Imagine if your cat could freely decide when it wanted to go outside without you having to open the door.
Constantly getting up to let your cat in and out can quickly become annoying.
With a cat flap in the window, you give your cat the freedom to decide for itself when to go out.
In this blog post, we'll walk you through the steps of installing a cat flap in your window, including tips on selection, tools, and getting your cat used to their new freedom.
Why a cat flap in the window is useful

Installing a cat flap in the window offers many advantages and can make life much easier for both you and your cat. Firstly, it gives your cat more freedom and independence , as it can decide for itself when it wants to leave or enter the house. Secondly, you save time and effort, as you no longer have to get up to open the door. It is particularly practical that windows usually have a window sill, which can serve as a natural staircase for your cat to get in and out.
There are also other reasons why a cat flap in the window is a smart choice:
- Flexibility : If you move, the cat flap can easily be replaced with the original glass pane.
- No structural changes : In contrast to installation in walls, windows usually do not require extensive modifications.
- Safety : Many cat flap models offer additional safety features to keep out unwanted guests. In the next step, we'll look at how to choose the right cat flap and determine the best place to install it in the window.
Before installation: selection and placement
Before you start installing a cat flap, choosing the right model is crucial. There are different types of cat flaps that differ in size, functionality and safety features. Think about which functions are important for you and your cat, such as a 4-way lock or a controllable access control that only allows your cat to enter.
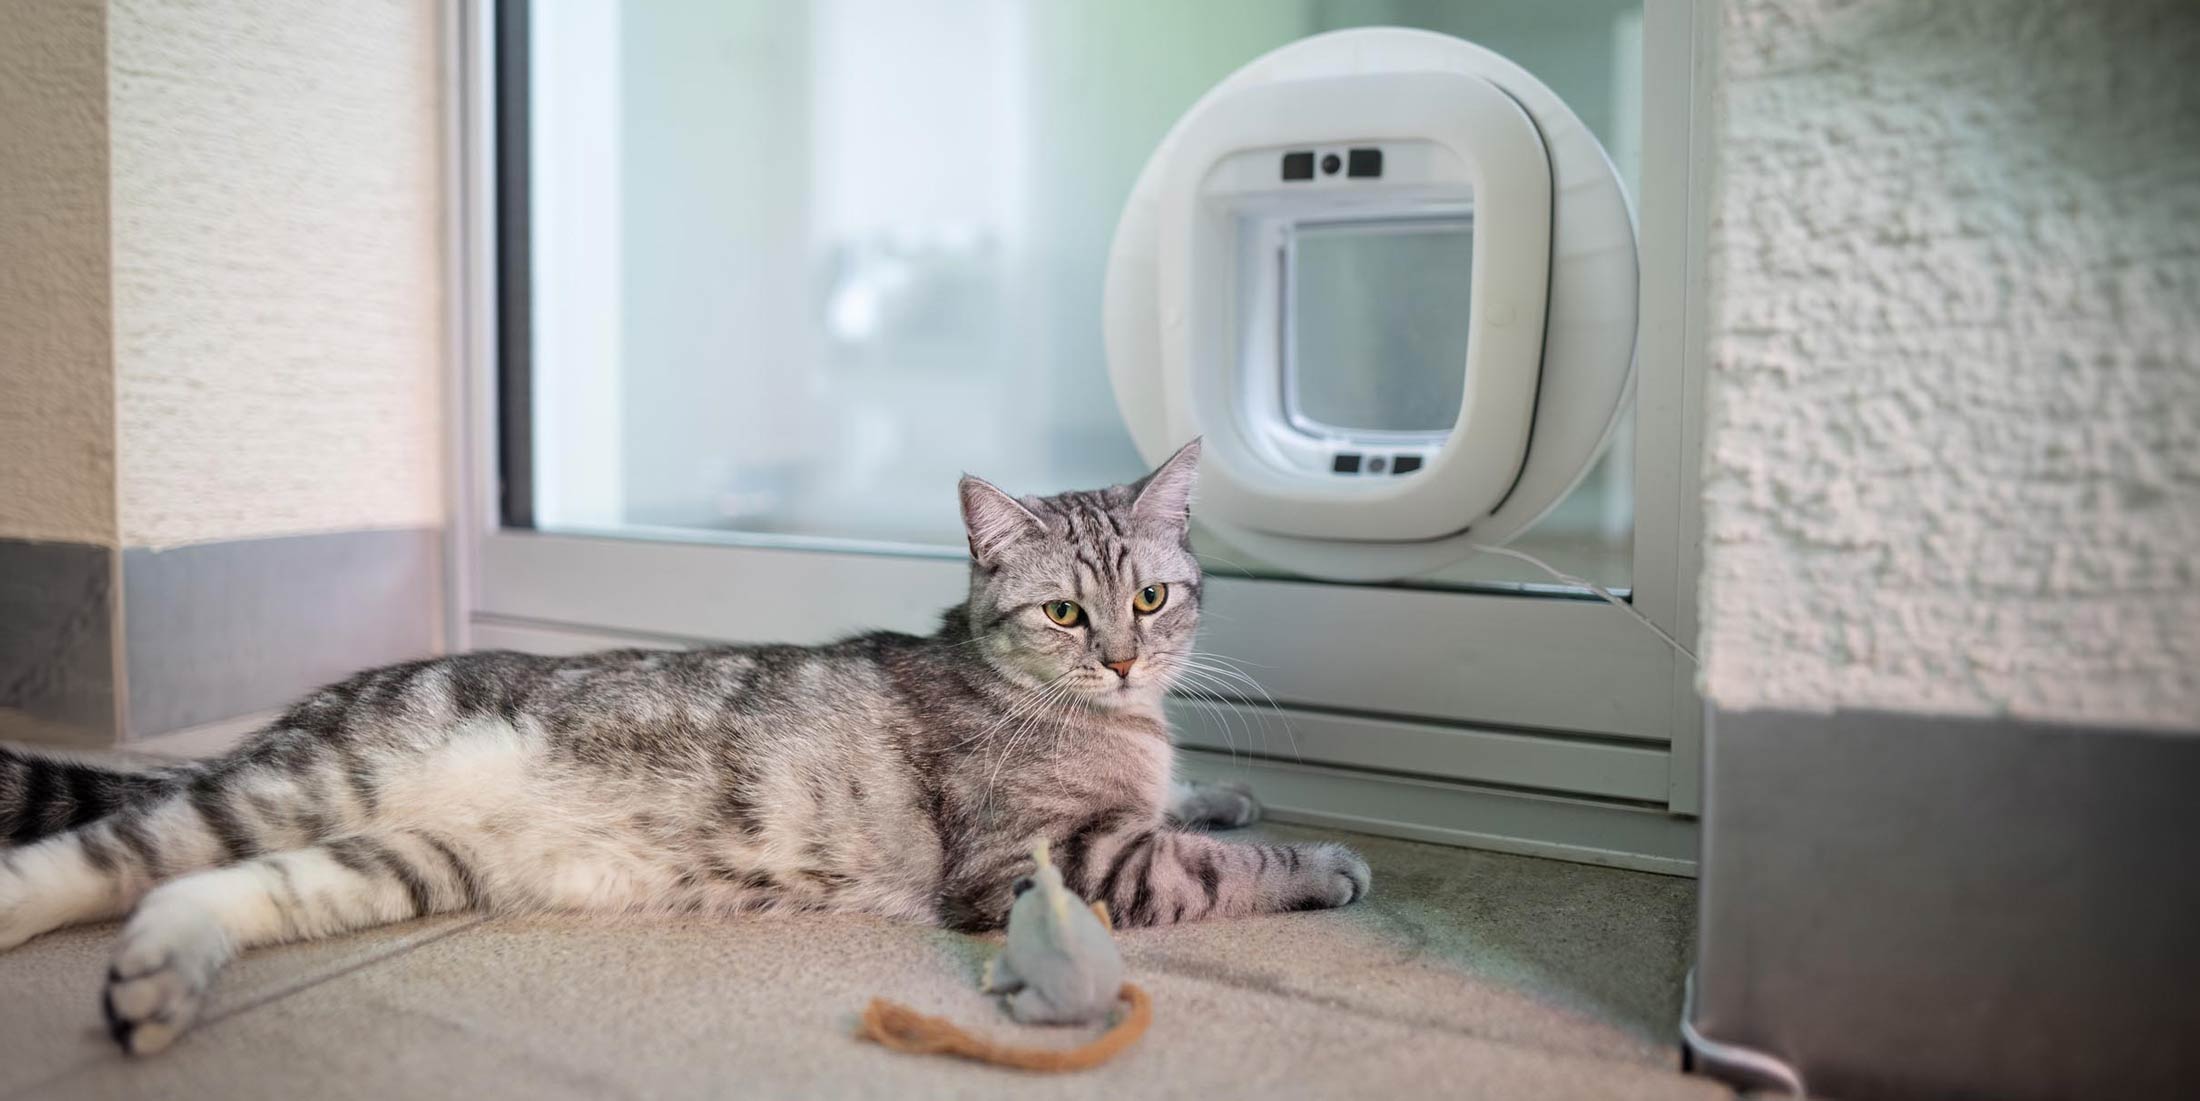
The installation location in the window is also important. The cat flap should be installed in a place protected from the weather and in an environment that is familiar to your cat so that it can use it without having to get used to it. Make sure that the flap is installed at an appropriate height - the height of your cat's stomach is usually used as a measure.
Last but not least, you should consider installing the cat flap in an unheated room to avoid energy loss. Most cat flaps can be installed in windows, doors or even brickwork, giving you some flexibility in positioning.
Materials and tools for installation
To install a cat flap you will need a few materials and tools . First of all you will obviously need the cat flap itself and, if necessary, a suitable adapter ring for installation in glass. You will also need screws and screw caps for fastening. You should have a dust mask and safety glasses ready for installation to protect yourself.
A number of tools are required to properly install the cat flap:
- A tape measure and a pencil for measuring and marking the position
- A spirit level for precise alignment
- A cordless screwdriver with suitable drill bits
- A jigsaw for cutting out the window or door
- Sandpaper for smoothing the edges after sawing You should go through this list before installation to make sure you have everything on hand.
Step-by-step: Installing a cat flap in the window
Installing a cat flap in the window is a project that can be done easily with a little patience and the right tools. First, you should make sure that you have all the necessary materials and tools ready. In addition to the cat flap itself, this includes a tape measure, a pencil, a jigsaw, a cordless screwdriver with suitable drill bits and sandpaper.
Start by measuring your cat's belly height to determine the height of the flap. Then mark the outline of the cat flap on the window with a pencil. It's important that you take your time to make the markings accurately so that the flap fits correctly later.
After you have marked the position, it's time to cut. Use the jigsaw to carefully saw along the markings. It is important to:
- Wear protective goggles
- Saw slowly and in a controlled manner
- Make sure the window is well supported during sawing
Once the hole is cut out, smooth the edges with sandpaper. Then insert the cat flap and secure it with the screws provided. Make sure that the flap can swing freely and that there are no sharp edges protruding.
Finally, check once again that everything is tight and secure. Your cat flap is now ready for use and your cat can explore its new door. Don't forget to test the function of the flap and make any adjustments to ensure perfect functionality.
Avoid common installation mistakes
When installing a cat flap in a window, mistakes can easily happen. A common mistake is not measuring the size of the cut-out precisely, which can lead to problems later when inserting the flap. Therefore, measure the dimensions of the cat flap precisely and carefully transfer them to the window.
Another mistake is not supporting the window glass sufficiently, which can lead to cracks or breakage. So make sure you have a stable surface and work carefully. You should also be careful not to saw too quickly and always sand the edges after cutting to avoid the risk of injury.
Installation in various window types
Installing a cat flap in different types of windows, especially glass windows, requires special attention. When it comes to glass windows, it is important to note that installing a cat flap requires specialist knowledge and can damage the glass if done incorrectly.
Single glazing may be easier to install, but if you have multiple glazing or insulated glass, consider getting a professional to help you ensure the flap is installed correctly without compromising the integrity of the window. Also note that with certain types of glass, such as safety glass or reinforced glass, cutting the opening is only possible during manufacture.
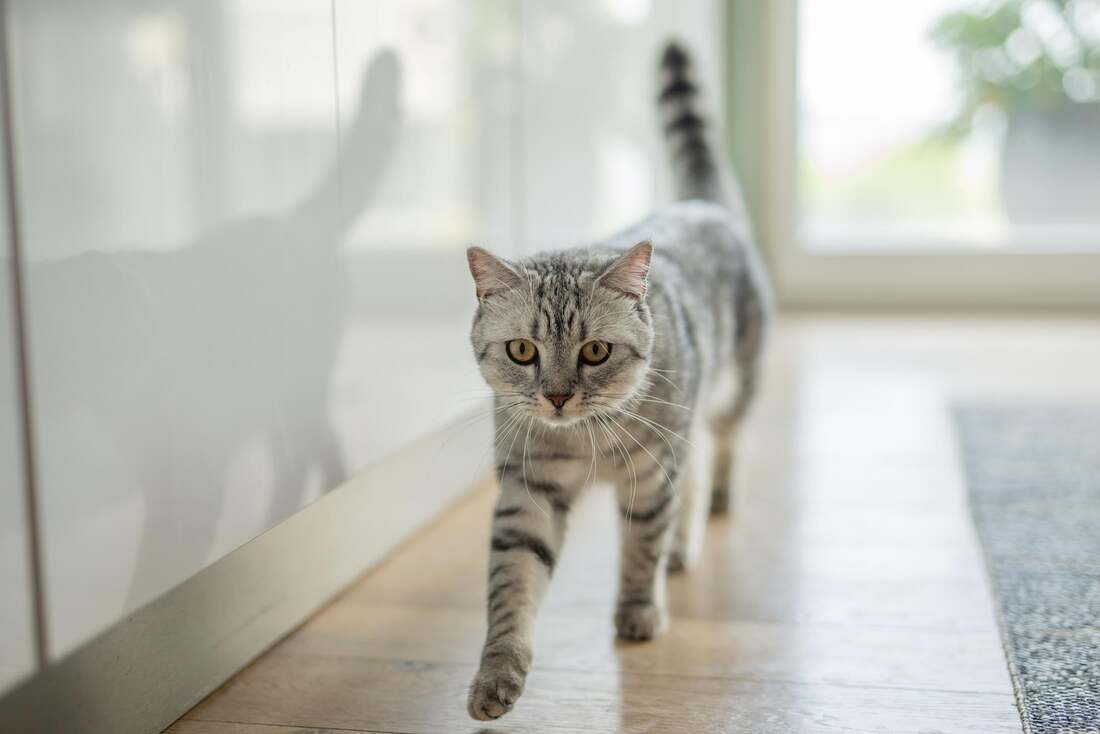
Getting your cat used to the new cat flap
Once the cat flap is installed, it's time to get your cat used to the new door. It's important to be patient and give your cat time to get used to the flap. Start by holding the flap open and luring your cat through the opening with treats or their favorite toy. This will help them associate the cat flap with positive experiences.
You can gradually encourage your cat to use the flap independently. Here are some effective methods:
- Place rewards directly behind the flap to make the passage attractive
- Lead your favorite toy through the flap to awaken the hunting instinct
- Stay patient and do not force the process as this could lead to anxiety With these tips, your cat will soon be able to confidently walk through its new flap.
Additional installation tips for a perfect result
For a perfect result when installing your cat flap, you should consider a few additional tips. Make sure that the flap is not installed in direct sunlight or in a place with drafts to protect your cat from the weather. Also make sure that the cat flap is easily accessible and not blocked by furniture or plants so that your cat can go in and out without any problems.
To optimize the installation, you can consider the following points:
- Use sealing material to prevent drafts and improve thermal insulation
- Apply silicone or foam to the edges to soften sharp corners
- Check the alignment so that the flap does not jam and your cat does not injure itself With these additional installation tips, your cat flap will not only be functional, but also safe and comfortable for your cat.
Maintenance and care of the built-in cat flap
Once the cat flap is installed, it is important to maintain and care for it well to ensure it lasts a long time and works safely. This includes cleaning the flap regularly to remove dirt and debris. Use a mild detergent and avoid harsh chemicals that could damage the material. Also check the screws and moving parts to make sure everything is tight and working smoothly. Here are a few simple steps you should do regularly:
- Cleaning the cat flap with a damp cloth and mild detergent
- Checking all screws and hinges for tightness
- Lubricate moving parts with a suitable lubricant if necessary By following these steps, you will ensure that your cat flap remains reliable and safe and that your cat can continue to go in and out without any problems.
Why Flappie is the ideal solution for your cat flap
Flappie isn't just a regular cat flap - it's the future of cat freedom with smart features. Imagine being able to prevent your cat from bringing home prey, while not restricting their freedom. That's exactly what Flappie makes possible. Here are some of the compelling benefits :
- Selective Access Control : Flappie lets your cat in but keeps prey out.
- AI technology : A camera detects prey and prevents it from entering the house.
- Flappie App : You receive notifications and can control the cat flap remotely. Take advantage of the current offer on flappie.ch and turn your cat flap into a high-tech entrance for your home.
Frequently Asked Questions
How do you install a cat flap in the window?
To install a cat flap in the window, start by measuring the height of your cat's belly to determine the height of the flap. Then mark the outline of the cat flap on the window and carefully cut along the marks with a jigsaw. Wear safety glasses and make sure the window is well supported. Once the cut is complete, smooth the edges with sandpaper, insert the cat flap and secure it with the screws provided. Make sure the flap can swing freely and there are no sharp edges protruding. Finally, test the function of the flap and make any adjustments.
Who can install a cat flap in a window?
Installing a cat flap in a window can be done by yourself if you are handy and have the necessary tools. However, for special types of windows, such as double glazing or double glazing, you should call in a professional to ensure that the flap is installed correctly and the integrity of the window is not compromised.
Can you install a cat flap in glass?
Yes, it is possible to install a cat flap in glass. Single glazing can be easier to install, but if you have multiple glazing or double glazing, it is advisable to hire a professional. Special types of glass such as safety glass or reinforced glass require that the opening be cut during manufacture.
Share:
Installing a cat flap in the wall: instructions and tips
Cat Flap Masonry: A Comprehensive Guide