


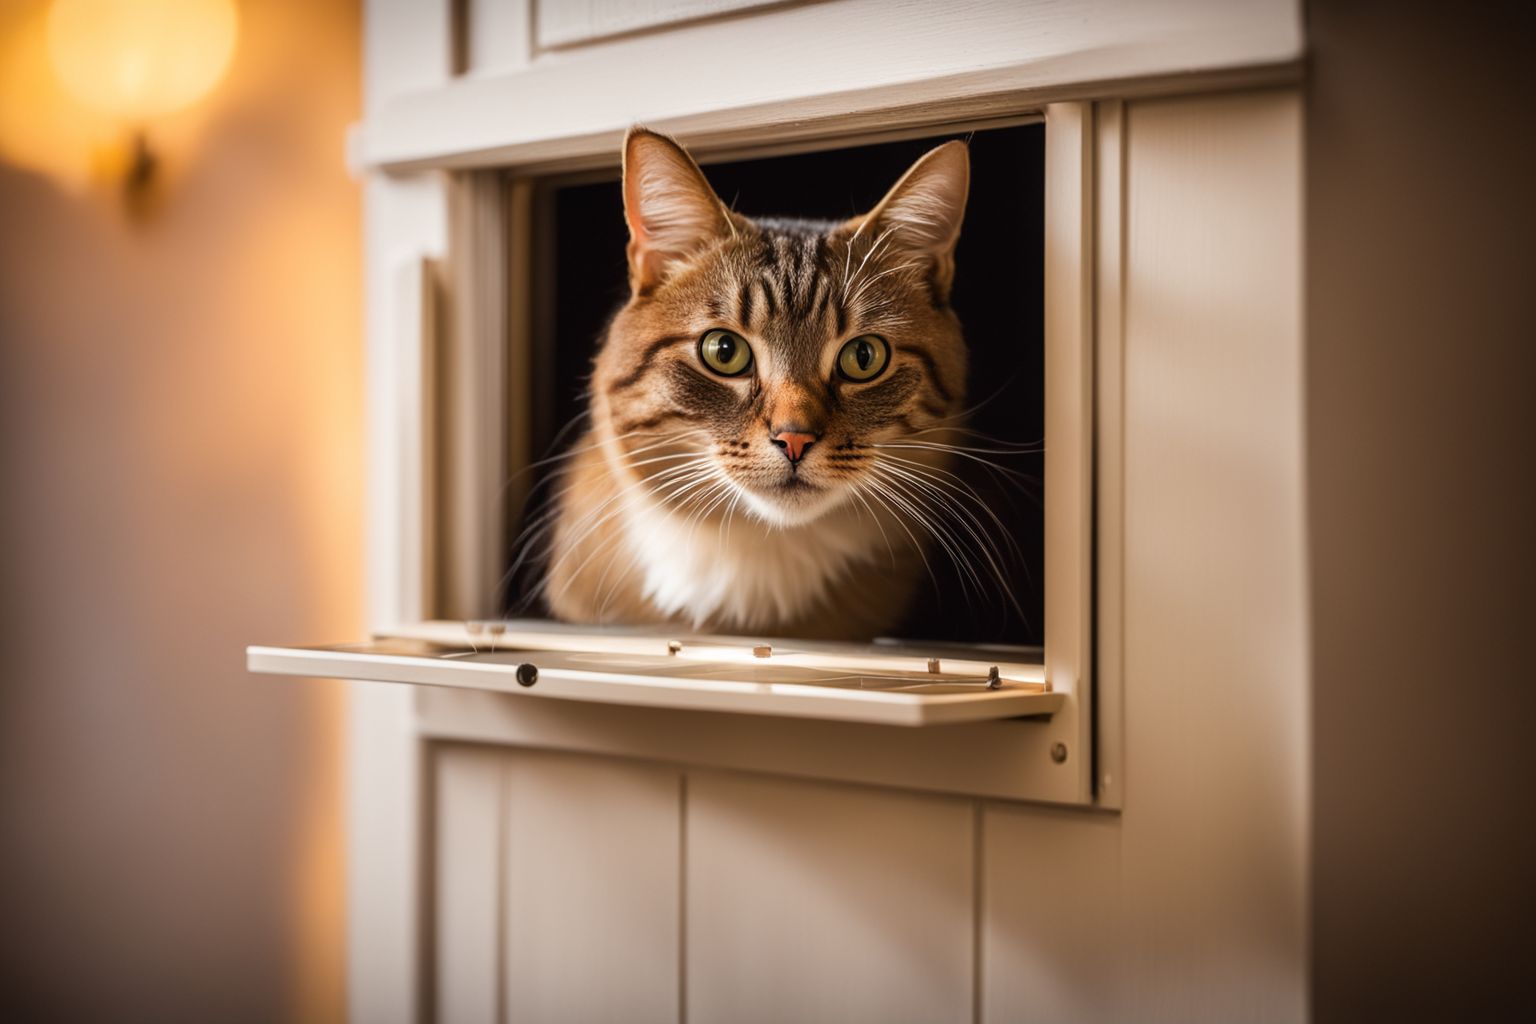
Imagine your cat being able to come and go as he pleases without you having to constantly open the door.
But installing a cat flap in the wall can be tricky, especially if you're not sure where to start.
Don't worry, with the right instructions and tips, installation will be child's play.
In this blog post, you will learn how to properly install a cat flap into the wall, what tools you need and what you should keep in mind.
Why the correct installation of a cat flap is so important

The correct installation of a cat flap is extremely important for several reasons. Firstly, it ensures the safety of your cat and prevents it from getting stuck or injured. Secondly, a professionally installed cat flap protects your home from unwanted guests such as strange animals or burglars.
In addition, correct installation plays a major role in the energy efficiency of your home. An incorrectly installed cat flap can lead to draughts and energy loss. Therefore, you should:
- place the cat flap in the right place
- make sure it is properly sealed
- ensure stable installation to ensure longevity
Ultimately, it is crucial that the cat flap is comfortable for your cat. This means it must be the right size and installed at a height that is easily accessible for the cat. A professional installation can help you take all of these factors into account and thus provide your cat with a safe and comfortable passage.
Required tools and materials for installation

Before you start installing the cat flap, it is important that you have all the necessary tools and materials ready. First of all, this includes a cat flap kit or a template to help you cut out the right size and shape. A tape measure and ruler are essential to transfer the dimensions accurately.
You will need a pencil to mark the cutting lines. A spirit level will help you to install the cat flap horizontally. To cut out the opening you will need a battery-operated drill , suitable drill bits and a jigsaw .
After cutting out the opening, use sandpaper to smooth out any sharp edges. Also think about your safety: safety glasses and a dust mask are a must. Finally, you will need a screwdriver to attach the cat flap.
- cat flap set or template
- tape measure and ruler
- pencil and spirit level
- Cordless drill with drill bits
- jigsaw
- sandpaper
- safety goggles and dust mask
- screwdriver
It's worth investing in quality tools as they not only make installation easier but can also be useful for future projects. Make sure the tools are comfortable to hold and suitable for the material of your wall. This will ensure that installation goes smoothly and your cat will soon be able to walk through their new door.
Prepare the wall properly

Before you start installing the cat flap, it is important to prepare the wall thoroughly . Make sure that the wall surface into which you want to install the flap is free of dirt, dust and any unevenness. If the wall is painted or wallpapered, remove any old paint or wallpaper so that the flap has a firm hold later.
Small cracks or holes in the wall should be repaired before installation. You can use filler to create a smooth and even surface . After the filler has dried, it is advisable to work the wall again with fine sandpaper. This will ensure that the surface is optimally prepared for installation.
Finally, it is important to allow the wall to dry before you proceed. Moisture can affect the adhesion of the cat flap and cause damage. Check with a moisture meter or wait long enough to ensure the wall is completely dry. Now the wall is ready and you can start the actual installation of the cat flap.
Step-by-step instructions for installing the cat flap

Installing a cat flap in the wall starts with marking . Use the template that came with your cat flap to mark the outline on the wall. Make sure the marking is horizontal and in the right place so that your cat can go through comfortably.
Next, you need to mark the drilling points for the corners. These are important because this is where you will later drill holes to cut out the corners of the opening for the cat flap. Use a drill bit that is large enough to accommodate the jigsaw.
Now it's time to cut out. Place the jigsaw on one of the drilled holes and follow the marked lines . Precision is required here, so take your time and work carefully. After you have cut out the opening, you should:
- smooth sharp edges with sandpaper
- check if the flap fits
- possibly rework to achieve a perfect fit
Before installing the cat flap, it is important to clean and prepare the opening. Remove dust and dirt so that the cat flap has a firm hold later. Also check whether the flap is sitting horizontally and adjust the opening again if necessary.
Now you can install the cat flap. Fix the flap using the screws provided, as per the instructions for your model. Make sure that everything is secure and that there are no wobbly parts. A stable installation is important for the safety of your cat and the longevity of the flap.
Finally, you should check that the cat flap is working properly. Make sure that it opens and closes easily and that there are no sharp edges or corners that could injure the cat. Now your cat can enjoy its new freedom while you can be sure that everything has been installed correctly.
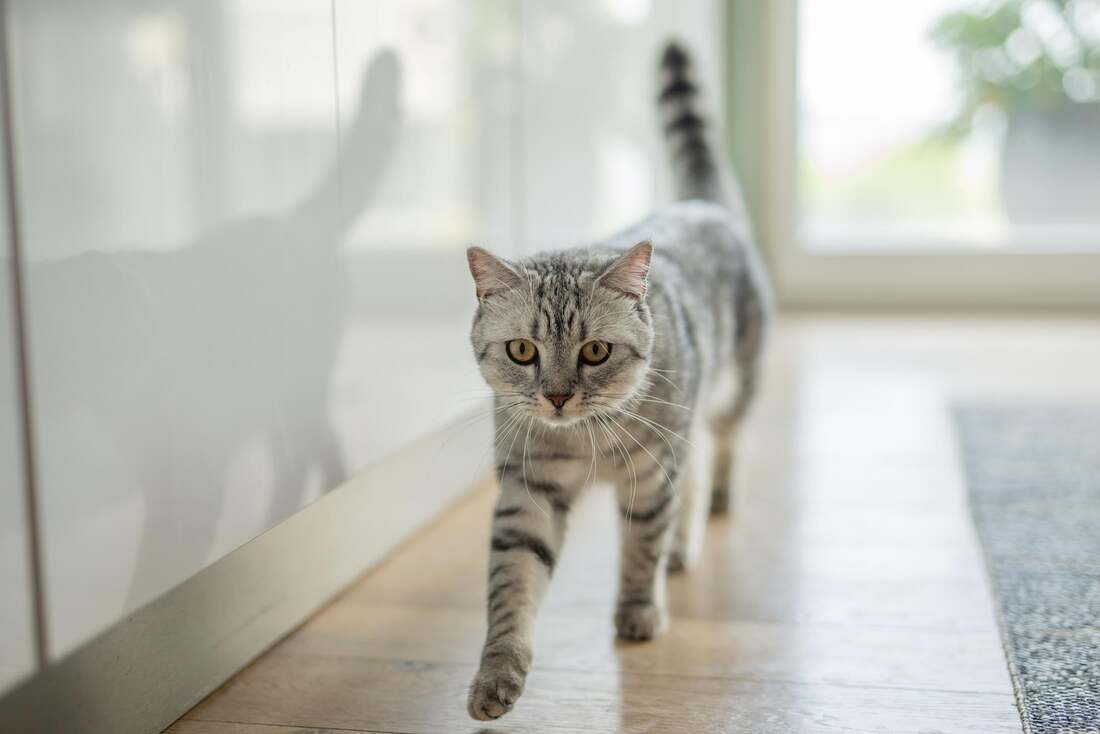
Optimal placement of the cat flap

The optimal placement of the cat flap is crucial for your cat to be able to use it without any problems. It should be installed in a sheltered place so that your cat feels safe when entering or leaving the house. Make sure that the flap is not exposed to the weather and is easily accessible for your cat.
The height of the cat flap is also important. Generally, it is recommended that the flap be installed about 20 cm above the floor . If the flap needs to be installed higher, consider adding steps on either side to make it easier for your cat to get in and out.
When placing the cat flap, you should also consider energy efficiency . It is best to install it in an unheated room to avoid heat loss. This way, you can ensure that your cat has easy access without wasting unnecessary energy.
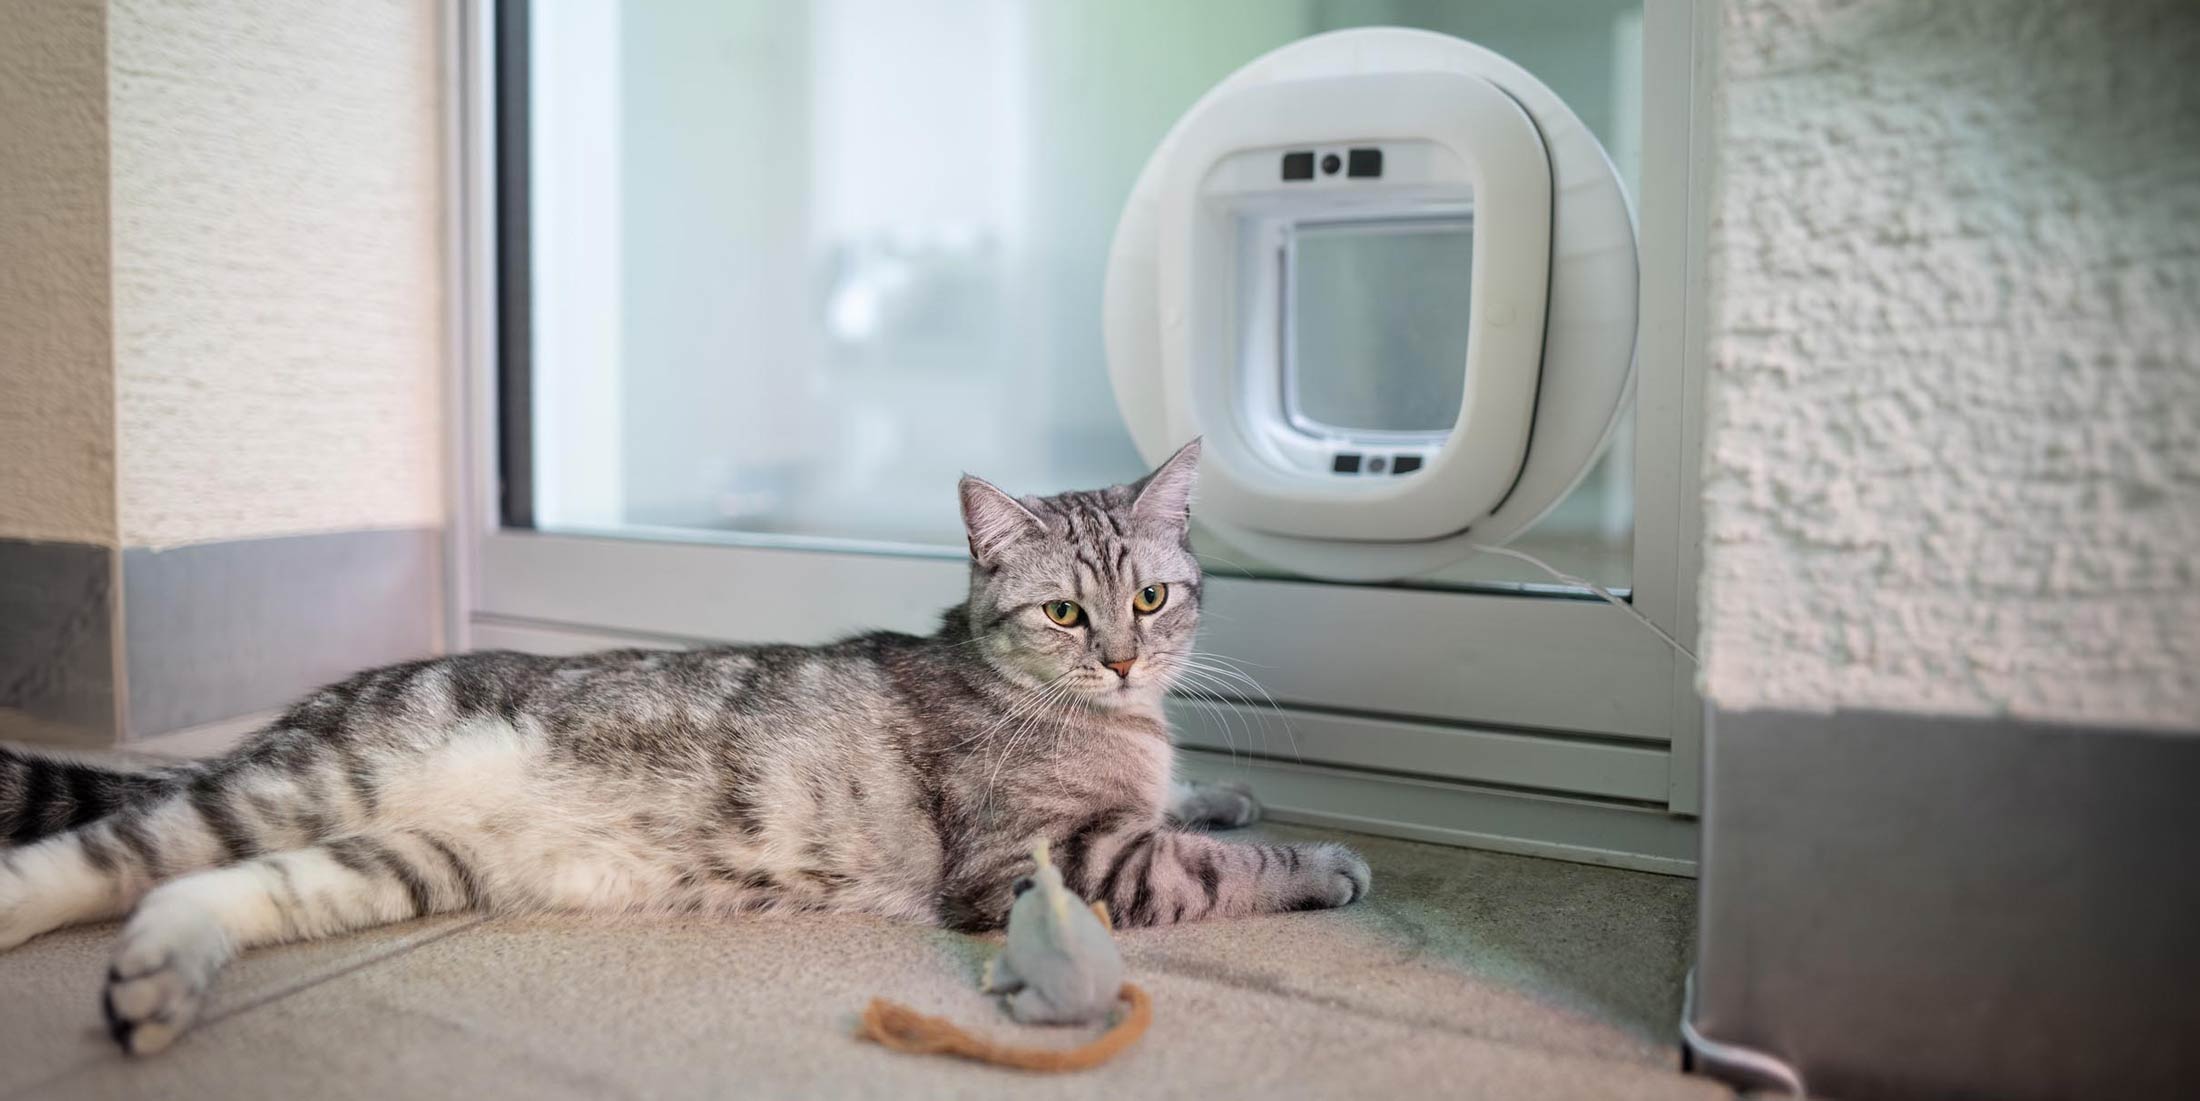
Install a cat flap in a glass pane?

Installing a cat flap in a pane of glass is definitely possible, but it requires specialist knowledge and the right material. Since panes of glass cannot be worked like wood or other materials, a glass expert usually has to make the cutout . The pane of glass has to be removed and often replaced with a new pane that already has the right cutout.
There are different types of cat flaps for glass panes:
- Standard cat flaps with manual locking options
- Magnetic cat flaps that work via a magnetic pendant on the cat's collar
- Microchip cat flaps that recognize the cat's chip and only open for registered animals These variants offer different functions to meet the needs of cat and owner.
If you don't have the option to install a cat flap in your glass pane, there are alternatives. For example, you could install a cat flap in an adjacent wall or in a door . It is also possible to use special inserts for sliding doors that include a cat flap. The important thing is that the solution is safe and comfortable for your cat, while protecting your home from heat loss and unwanted intruders.
Who can install a cat flap?
Not everyone feels skilled enough to install a cat flap themselves. In such cases, professional craftsmen or specialist companies that specialize in pet access can take on the job. They have the necessary tools and experience to install the flap quickly and safely.
If you decide to install the cat flap yourself, there are several advantages :
- You save money that you would otherwise spend on the tradesman.
- You can complete the installation according to your own schedule.
- It gives you a feeling of satisfaction to have created something with your own hands.
However, there are also disadvantages to self-installation:
- Without the right tools or know-how, mistakes can occur.
- Errors can cause additional costs if, for example, material is damaged.
- It can be stressful if you don't know exactly what you're doing.
How much does it cost to install a cat flap?
The installation of a cat flap can vary depending on the type of wall and window. For a simple wall installation, you will need to factor in material and possibly tool costs. In addition, there are the costs for the cat flap itself, which vary depending on the model and function.
When installing in windows or glass panes, the costs are usually higher. In this case, it may be necessary to hire a specialist, which causes additional labor costs. Consider the following:
- costs for cutting glass
- Replacement of the glass pane, if necessary
- Installation of the cat flap by a specialist
Compare offers from different suppliers to find the best option for your budget. It is also advisable to read online reviews before choosing a product or tradesman. This way you can be sure that you are getting quality at a fair price and that your cat will soon be able to stroll through its new door.
Checklist for installation: What you need to consider
Before you start installing, you should go through all the steps and make sure you don't forget anything. A checklist is very helpful here. Check that you have all the tools ready and read the instructions for your cat flap thoroughly. This will help you avoid mistakes that will be difficult to correct later.
Here is a simple checklist for you to tick off:
- Clean and prepare the wall surface
- Prepare all tools and materials
- Understanding the cat flap instructions
- Transfer dimensions with tape measure and template
- Mark drilling points and drill holes
- Carefully cut out the cutout with the jigsaw
- Smooth edges with sandpaper
Finally, after the cat flap has been installed, it is important to carry out a functional test . Test whether the flap opens and closes easily and whether it is properly sealed to prevent drafts. Only when everything works smoothly is the installation complete and your cat can enjoy its new door to the fullest.
Flappie: The intelligent cat flap for your home
Imagine a cat flap that not only gives your cat freedom, but is also intelligent enough to detect if it brings home prey. This is Flappie, the cat flap that uses artificial intelligence (AI) to keep your home free of prey. This flap offers you many advantages :
- Selective access control that prevents your cat from entering the house with prey
- Prey detection by a camera equipped with AI technology
- An app that gives you notifications, videos and settings
So if you value a clean and prey-free environment in your home, Flappie is the ideal choice for you and your cat. With Flappie, you can stay relaxed while your cat enjoys its freedom. Visit the website now at https://flappie.ch and secure your smart cat flap. Act quickly , because Flappie not only offers you an innovative solution, but also a pre-sale discount on a limited contingent of cat flaps. Get Flappie and experience how your cat comes home safe and prey-free.
Frequently Asked Questions
Can you install a cat flap in a pane of glass?
Yes, it is possible to install a cat flap in a pane of glass, but it requires specialist knowledge and the right material. It is usually necessary to hire a glass expert to make the cut-out. The pane of glass must be removed and often replaced with a new pane that already has the appropriate cut-out.
Which craftsman installs a cat flap?
If you don't feel handy enough to install a cat flap yourself, professional tradesmen or specialist companies that specialize in pet access can take on the job. They have the necessary tools and experience to install the flap quickly and safely.
Can you install a cat flap yourself?
Yes, you can install a cat flap yourself. This has advantages such as cost savings and the flexibility to complete the installation on your own schedule. It also gives you a sense of satisfaction from having created something with your own hands. However, you should have the necessary tools and know-how to avoid making mistakes that could lead to additional costs.
How much does it cost to install a cat flap in a window?
The cost of installing a cat flap in a window is usually higher than for a wall-mounted one. There may be costs for cutting the glass, replacing the pane of glass and having the cat flap installed by a professional. It is advisable to compare offers from different providers to find the best option for your budget.
Share:
Chip recognition Tasso: The smart cat flap
Instructions for installing a cat flap in the window